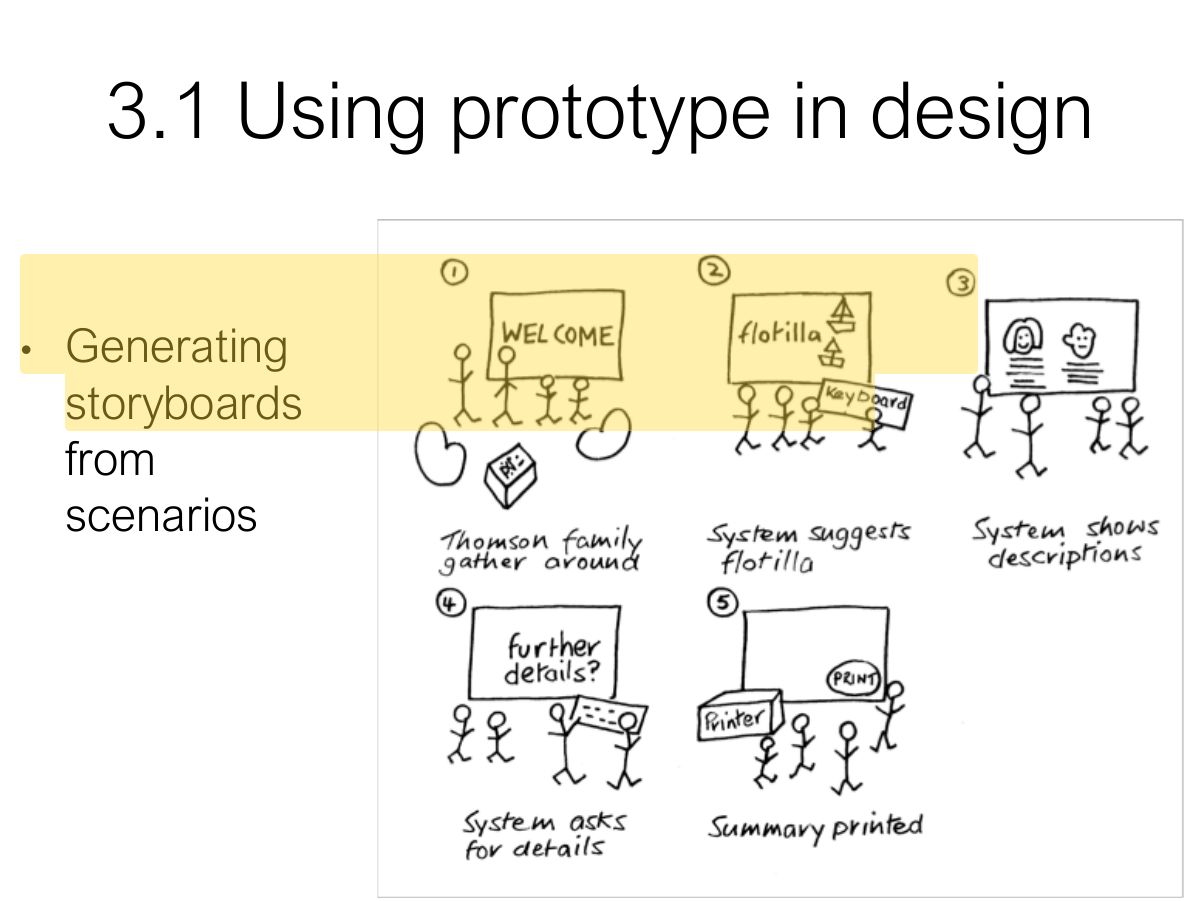
A storyboard on paper is a:
Design, Prototyping and Construction
What a prototype is and why build one, filtering and manifestation dimensions, low- vs. high-fidelity prototypes and the compromises involved, construction, conceptual design (metaphors, interaction types, expanding the concept), concrete design, scenarios and storyboards, card-based prototypes and physical computing kits.
How to read this page
Every original slide is shown unchanged. Yellow marks on a slide point to a numbered note: hover or tap a mark to jump to its note, and hover a note to see its marks. Questions tagged Past exam appeared on a real paper; Prediction questions are likely angles, not confirmed. Pick an answer to each question: a wrong pick tells you why it is wrong, so you can try again.
All 35 slides
- 1 Slide 1
- 2 Overview
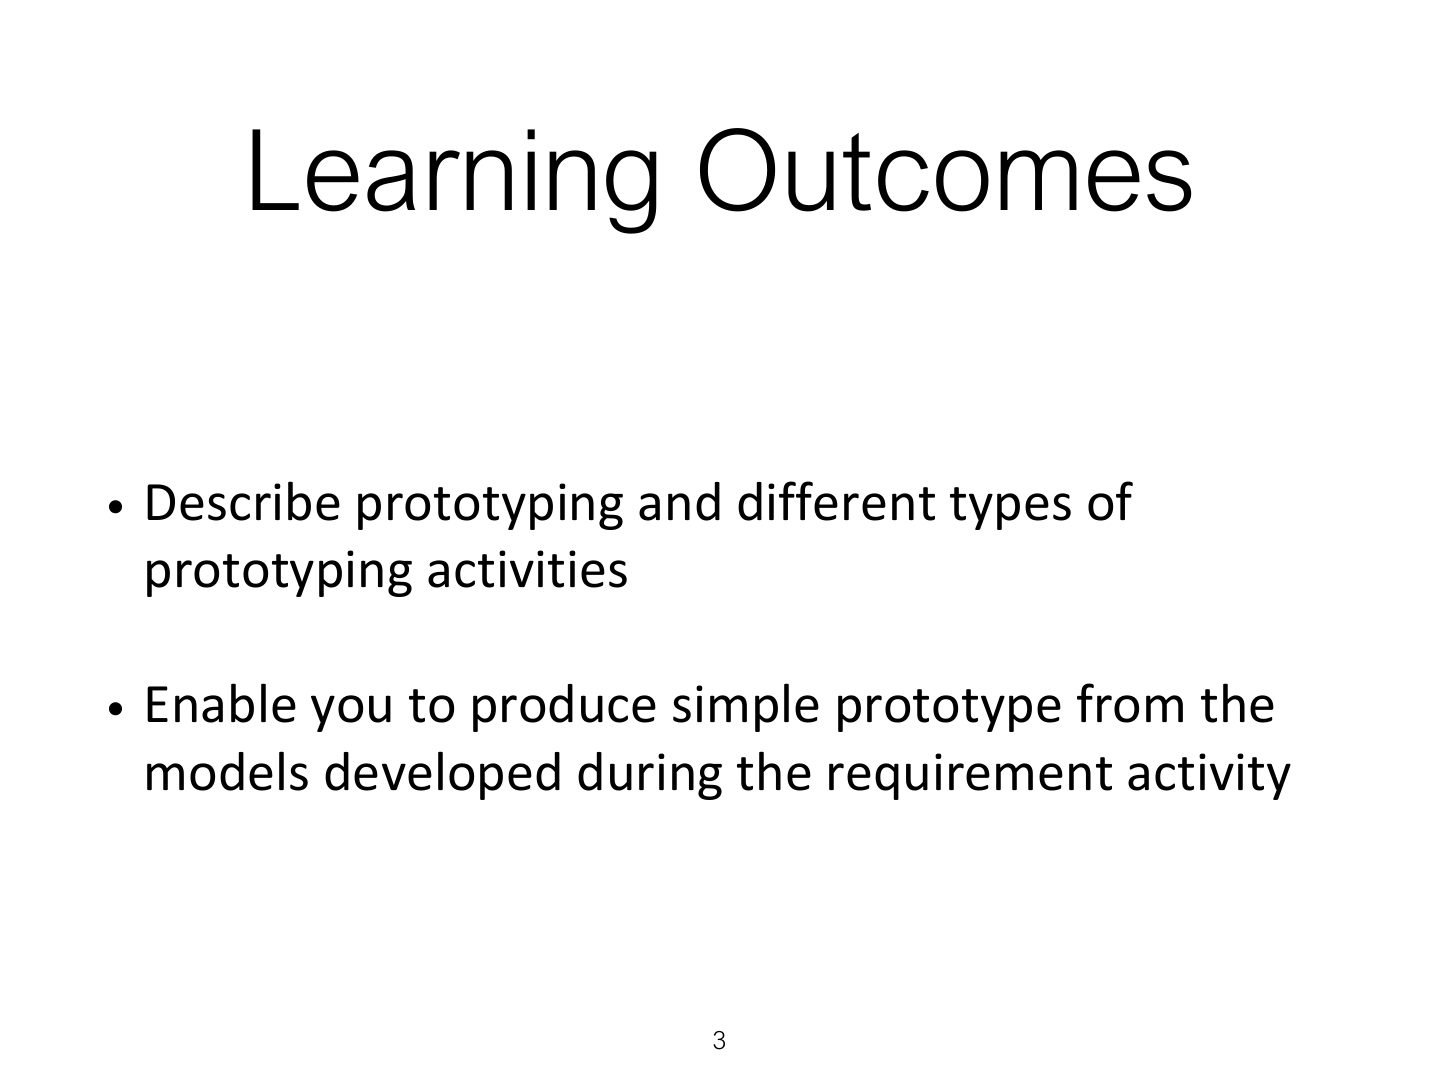
- 3 Learning Outcomes
- 4 1. Prototyping & Construction
- 5 1.1 What is Prototype?
- 6 Slide 6
- 7 1.1 What is Prototype? (cont)
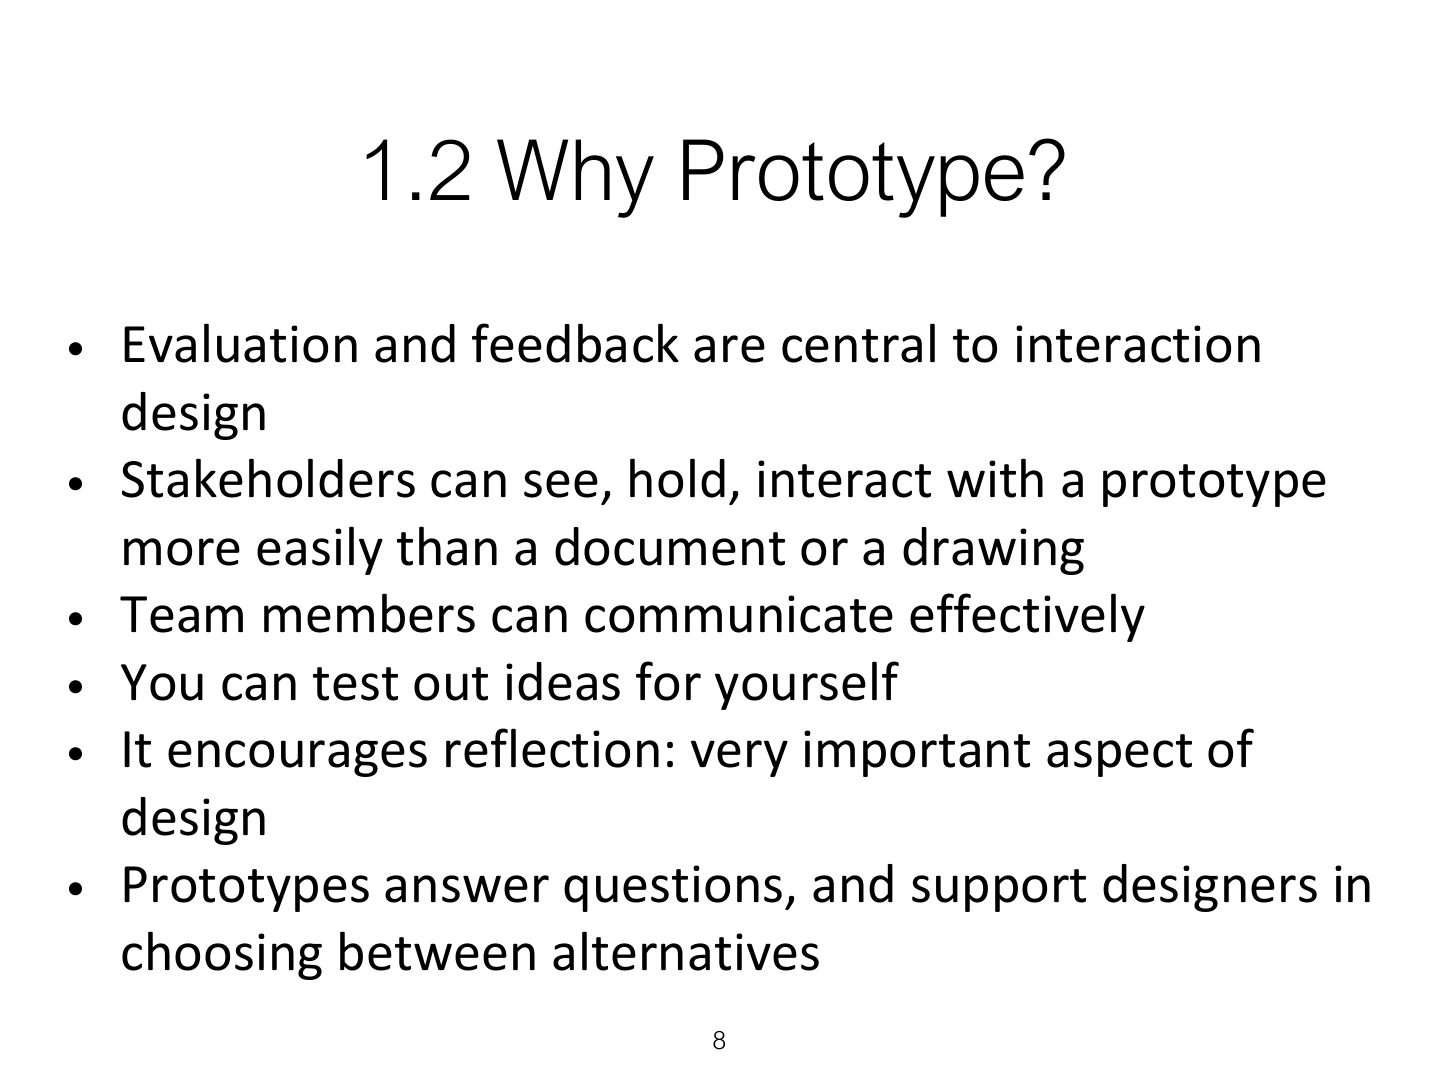
- 8 1.2 Why Prototype?
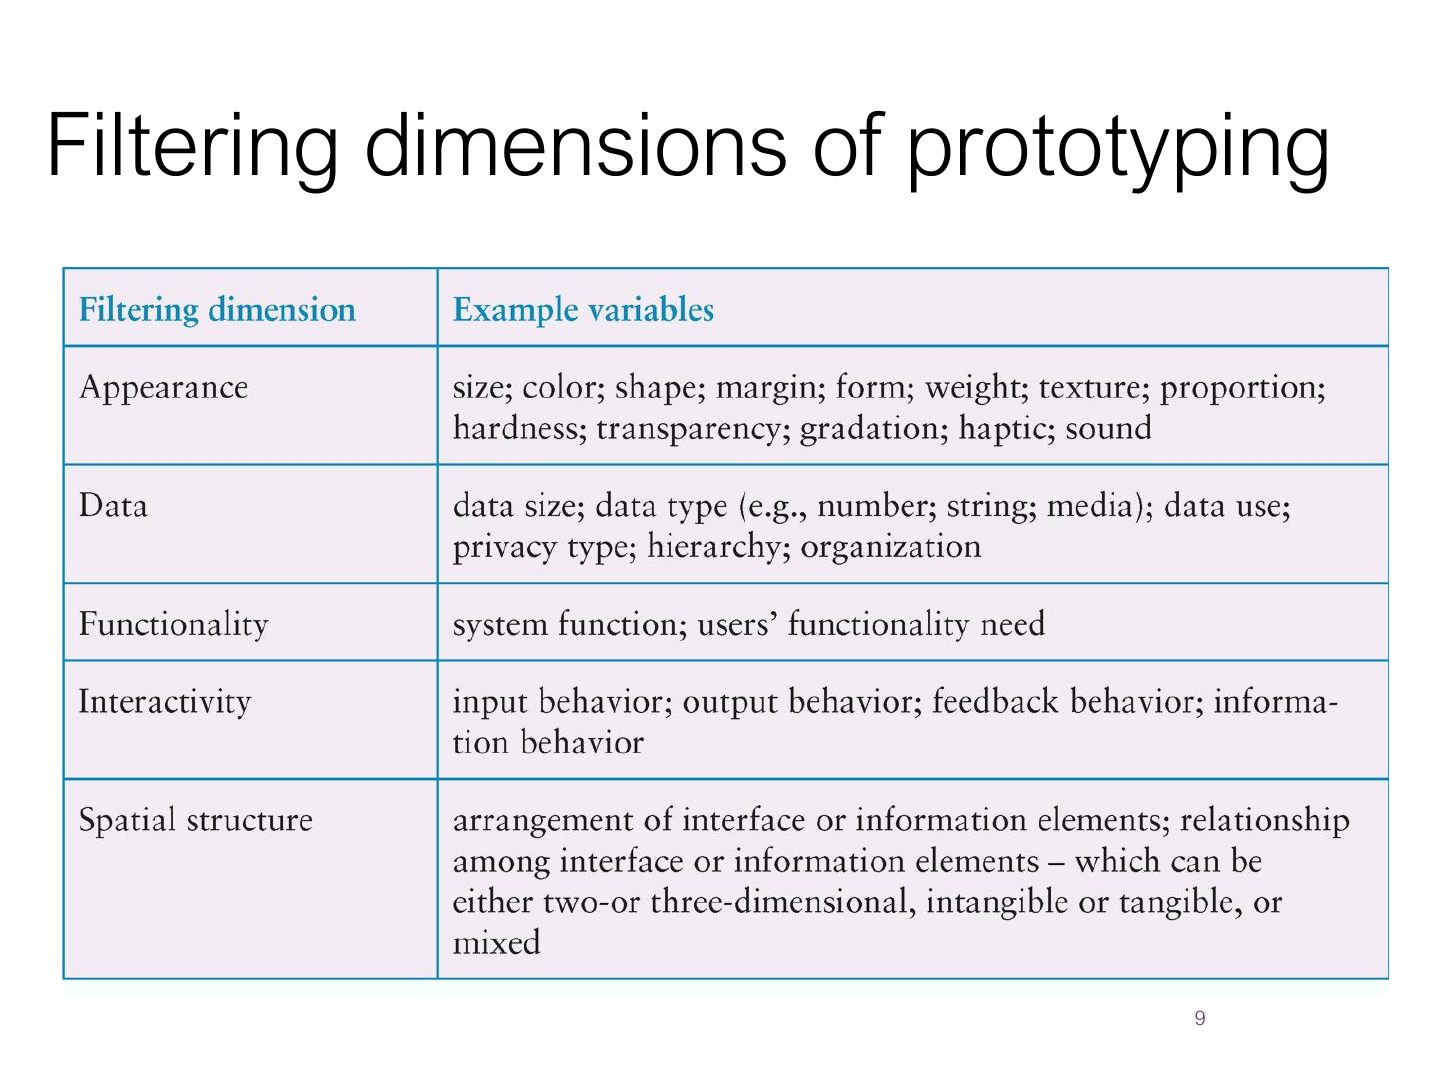
- 9 Filtering dimensions of prototyping
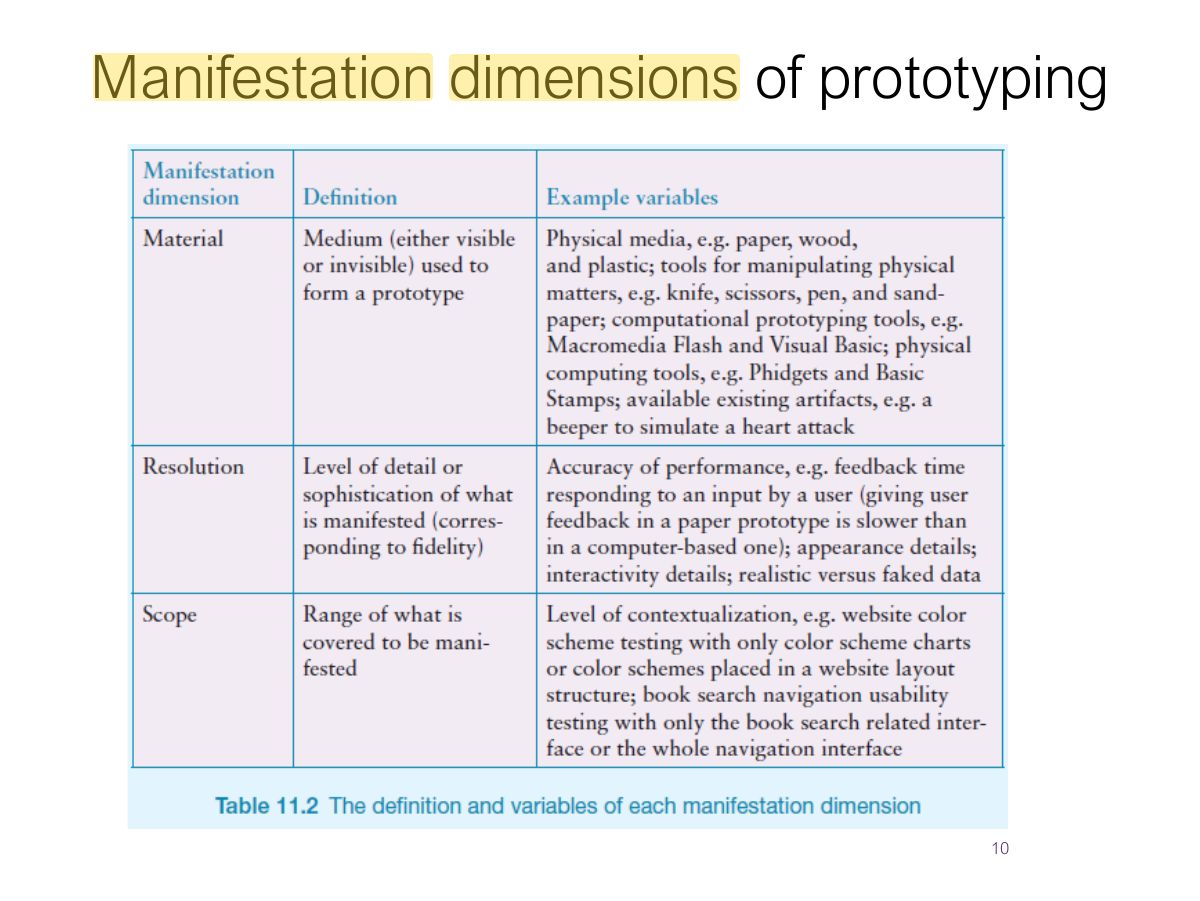
- 10 Manifestation dimensions of prototyping
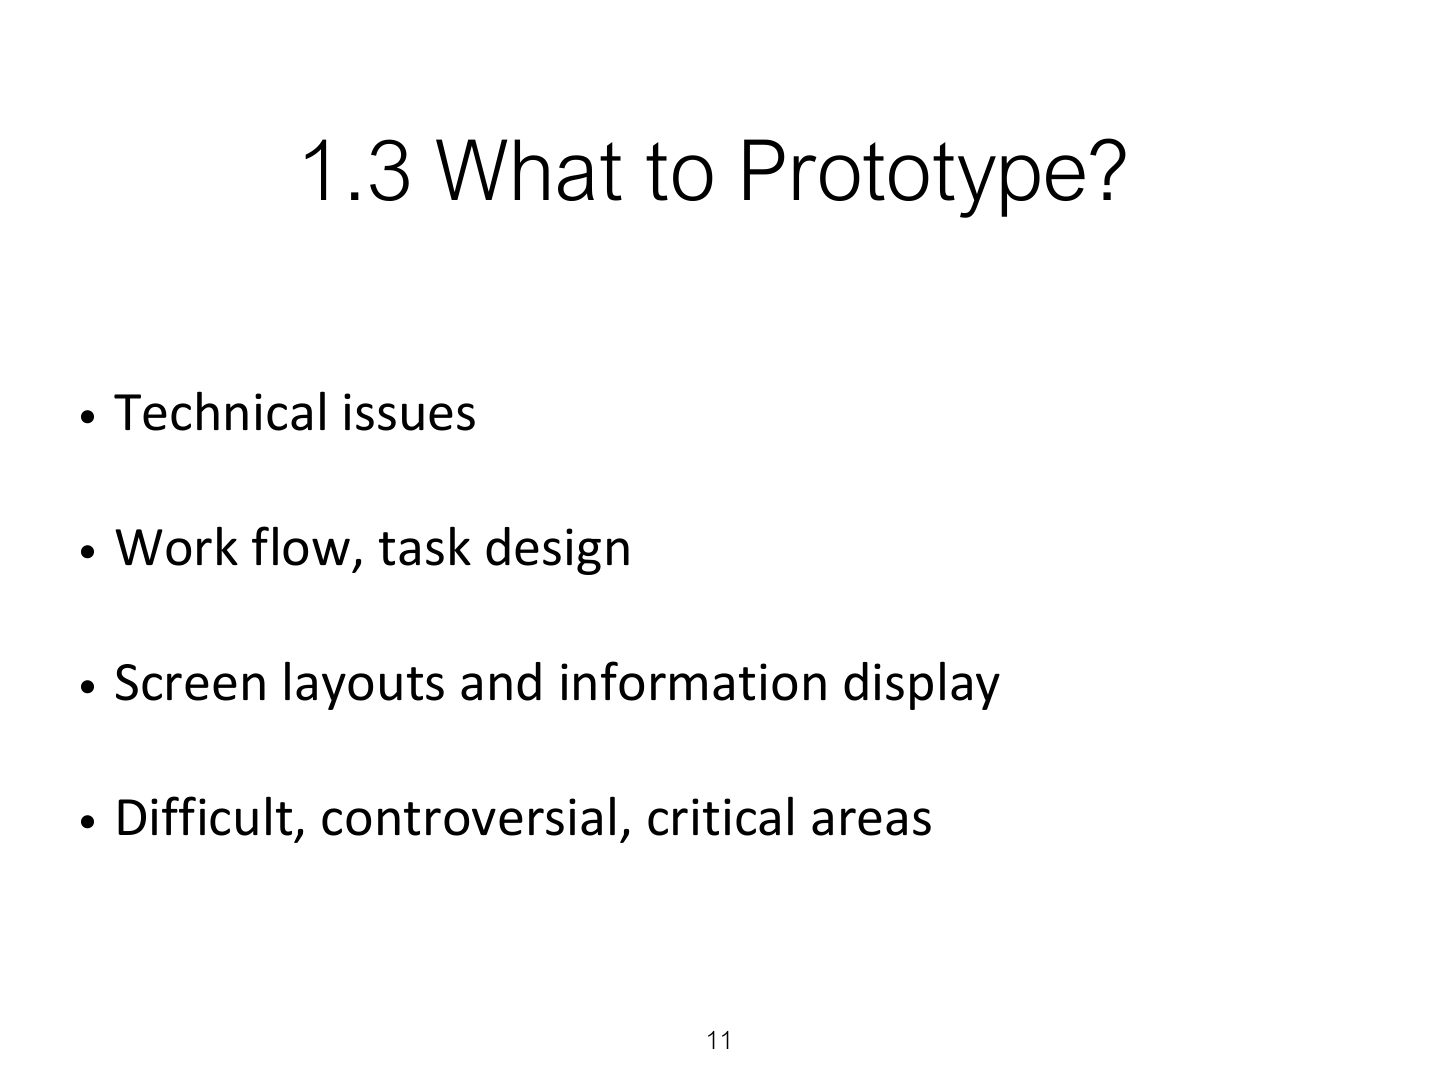
- 11 1.3 What to Prototype?
- 12 1.4 Low-fidelity Prototype?
- 13 1.4 Low-fidelity Prototype?
- 14 1.4 Low-fidelity Prototype?
- 15 1.4 Low-fidelity Prototype?
- 16 1.5 High-fidelity Prototype?
- 17 Compromises in prototyping
- 18 1.5 High-fidelity Prototype? (cont)
- 19 Low-fidelity VS High-fidelity Prototype?
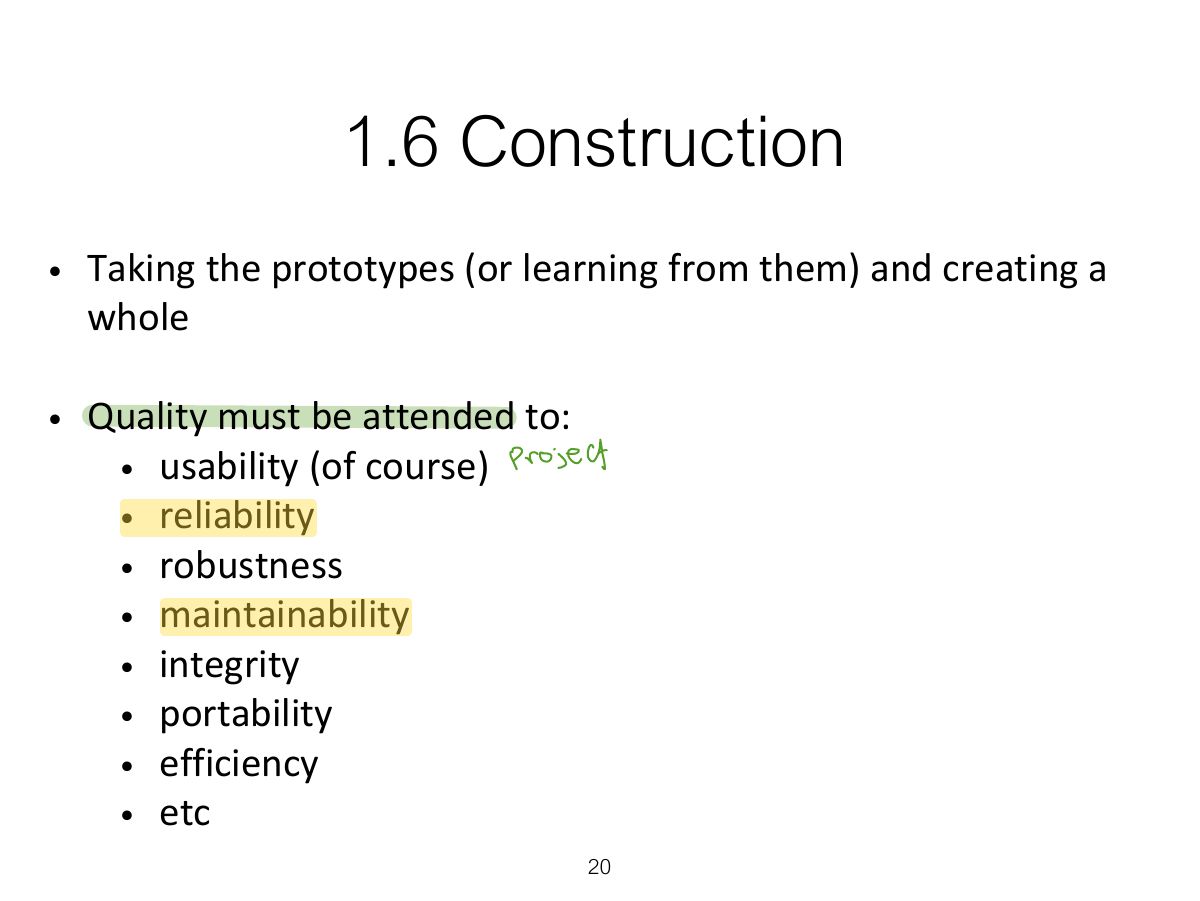
- 20 1.6 Construction
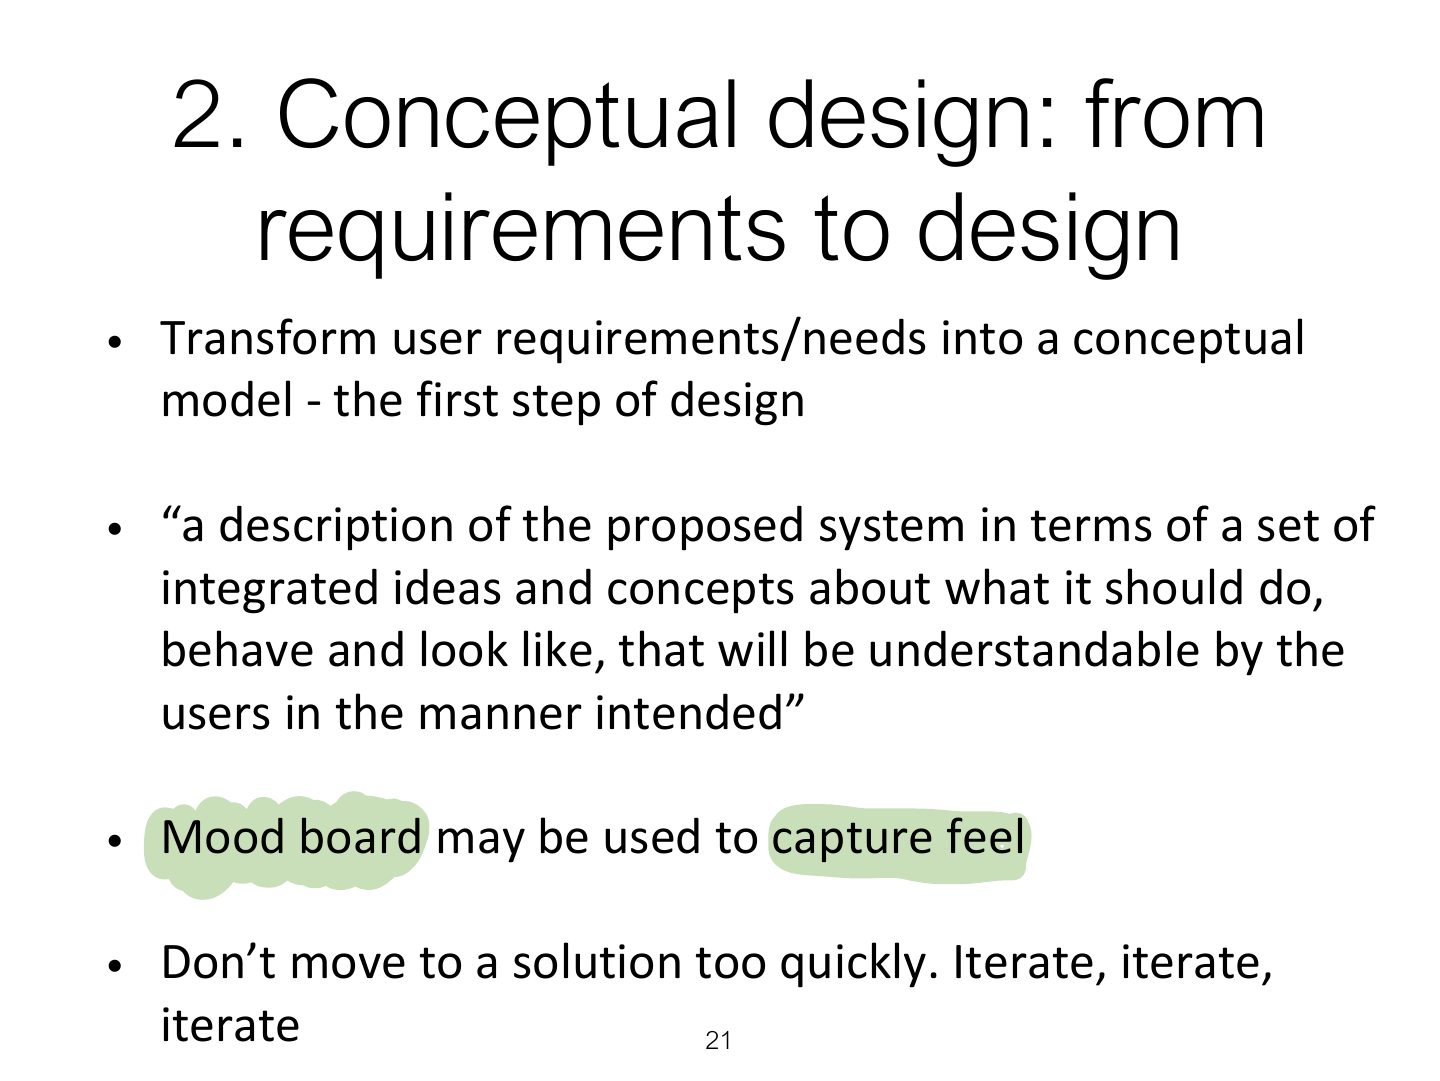
- 21 2. Conceptual design: from requirements to design
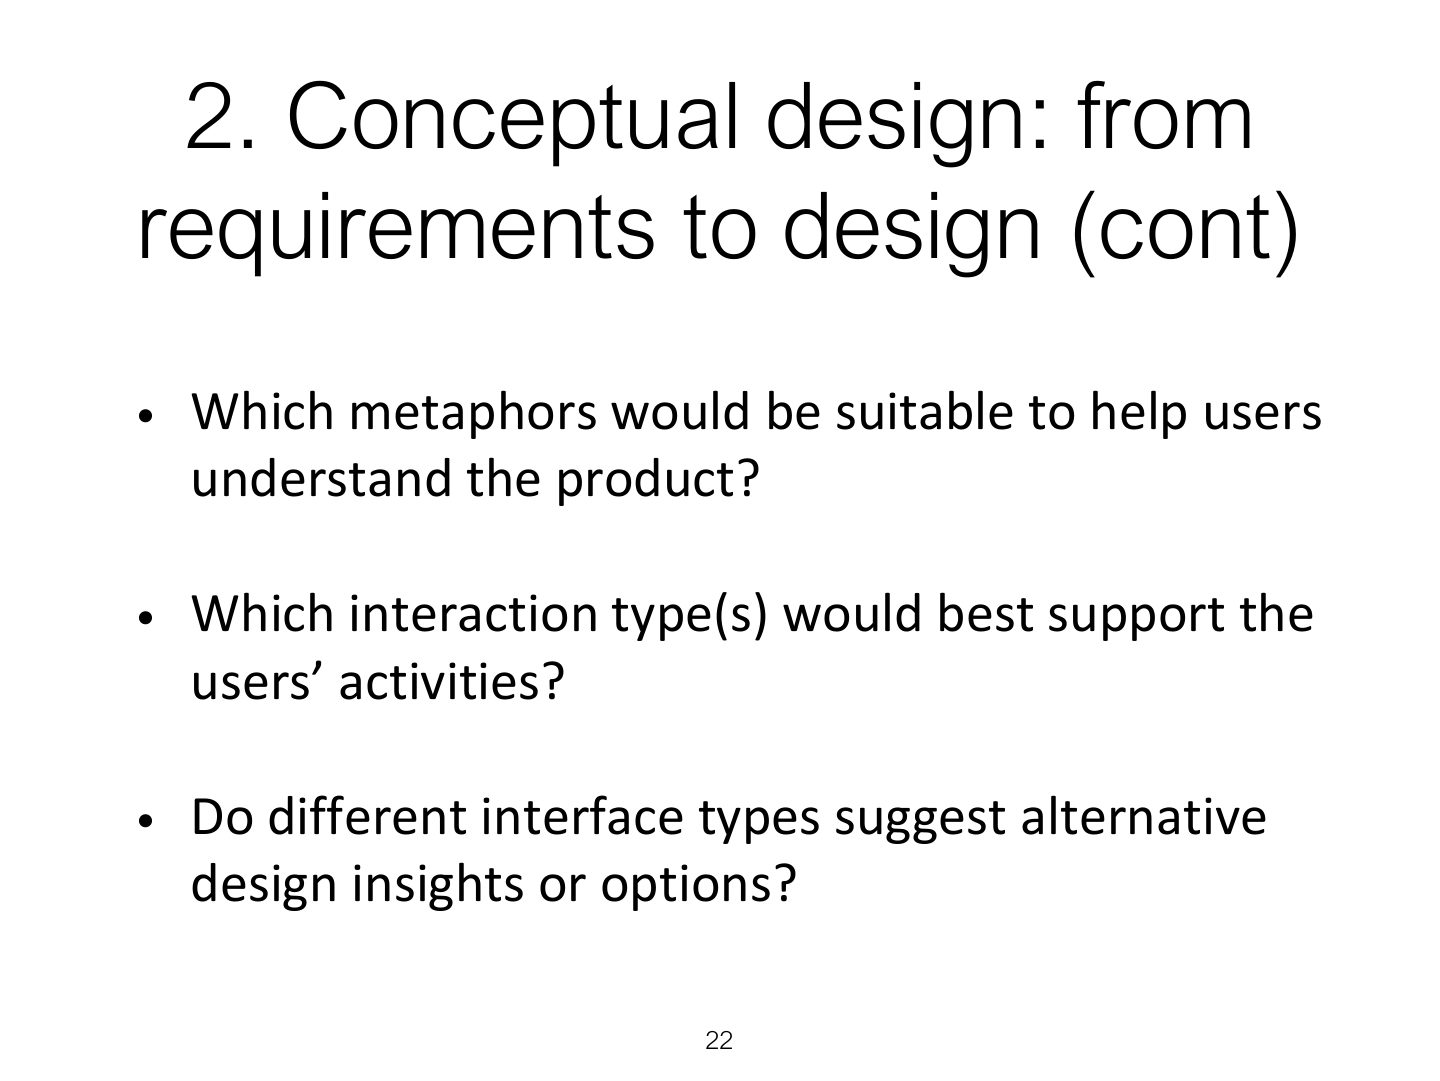
- 22 2. Conceptual design: from requirements to design (cont)
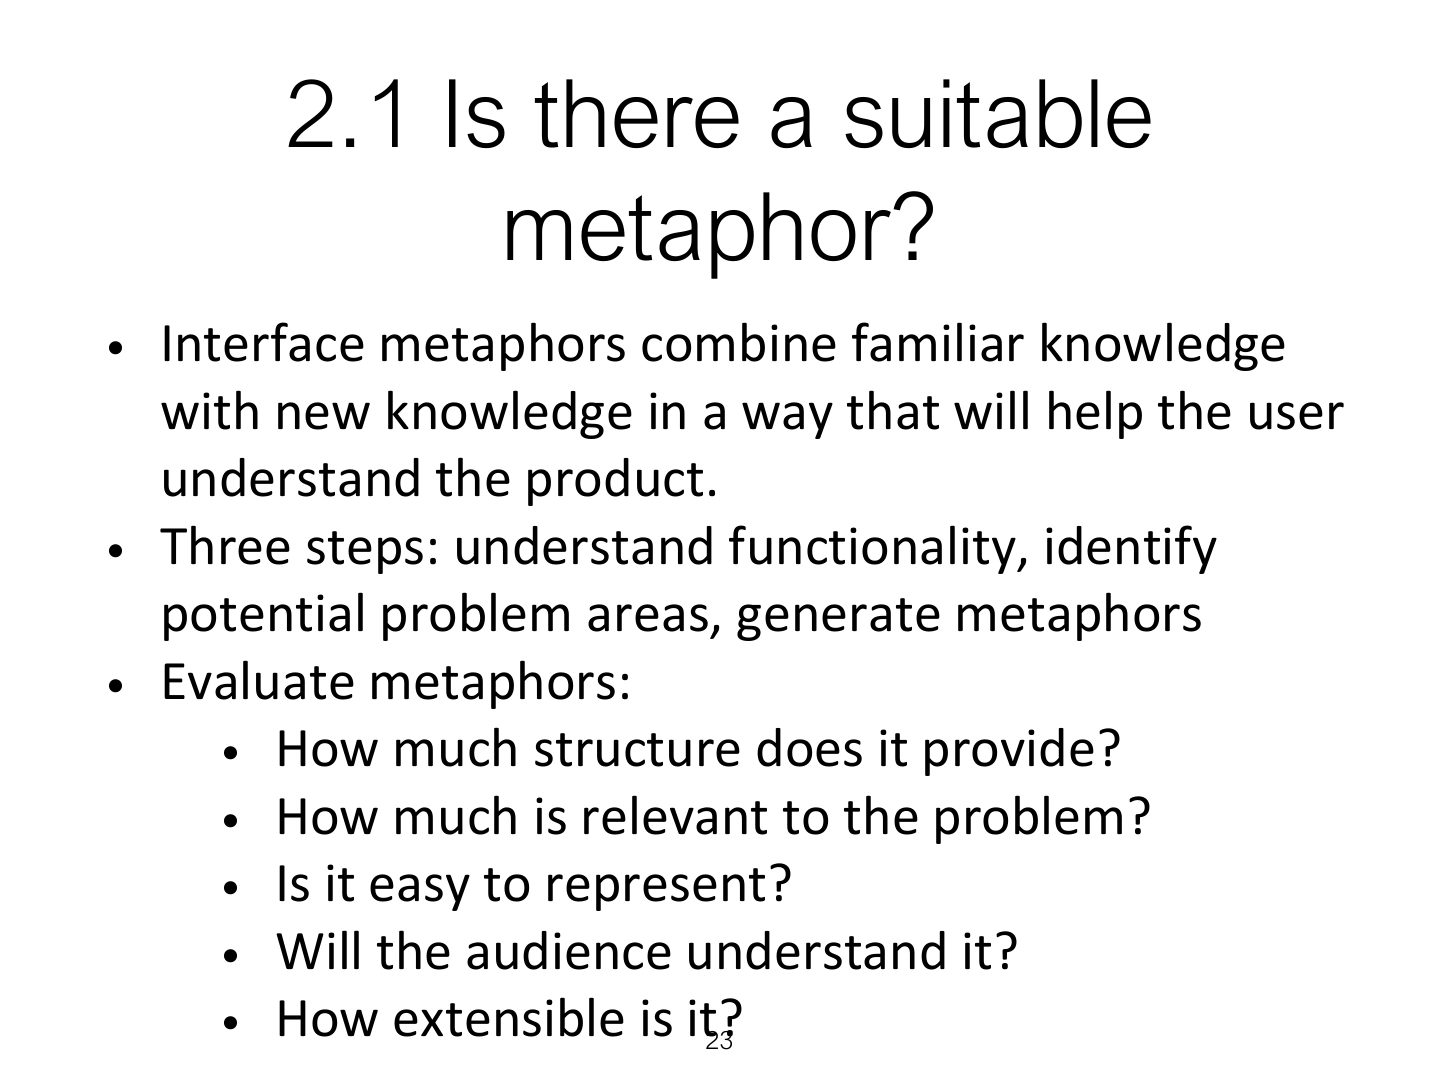
- 23 2.1 Is there a suitable metaphor?
- 24 2.2 Considering interaction and
- 25 2.3 Expanding the initial conceptual model
- 26 2.4 Concrete design
- 27 3. Using scenarios in conceptual design
- 28 3.1 Using prototype in design
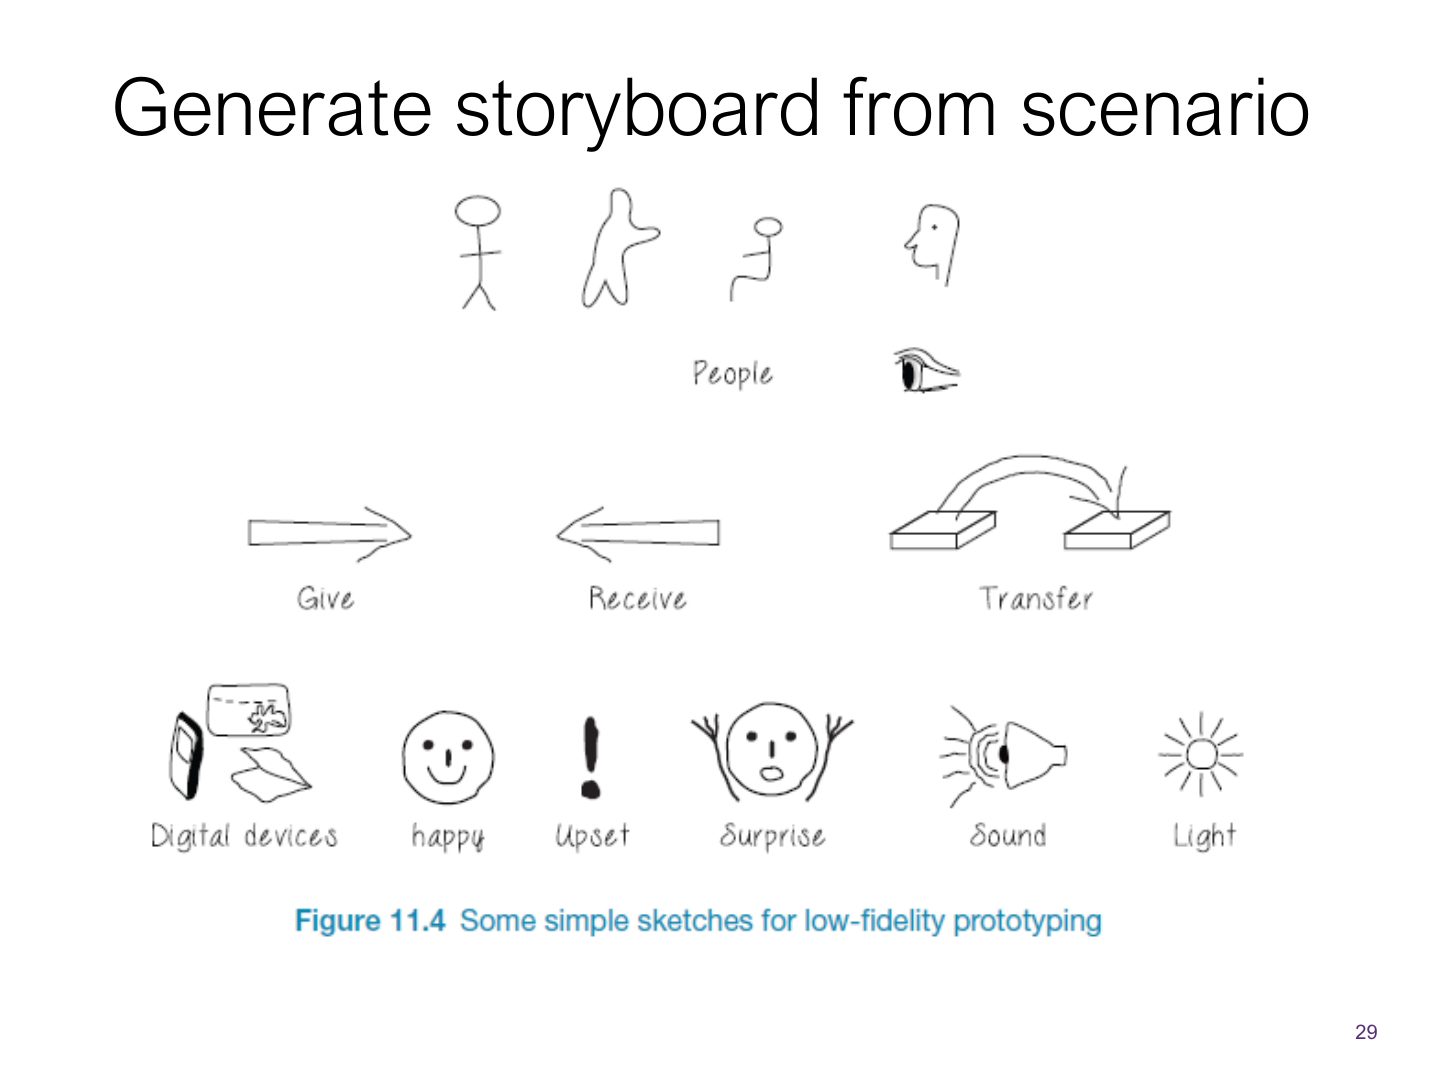
- 29 Generate storyboard from scenario
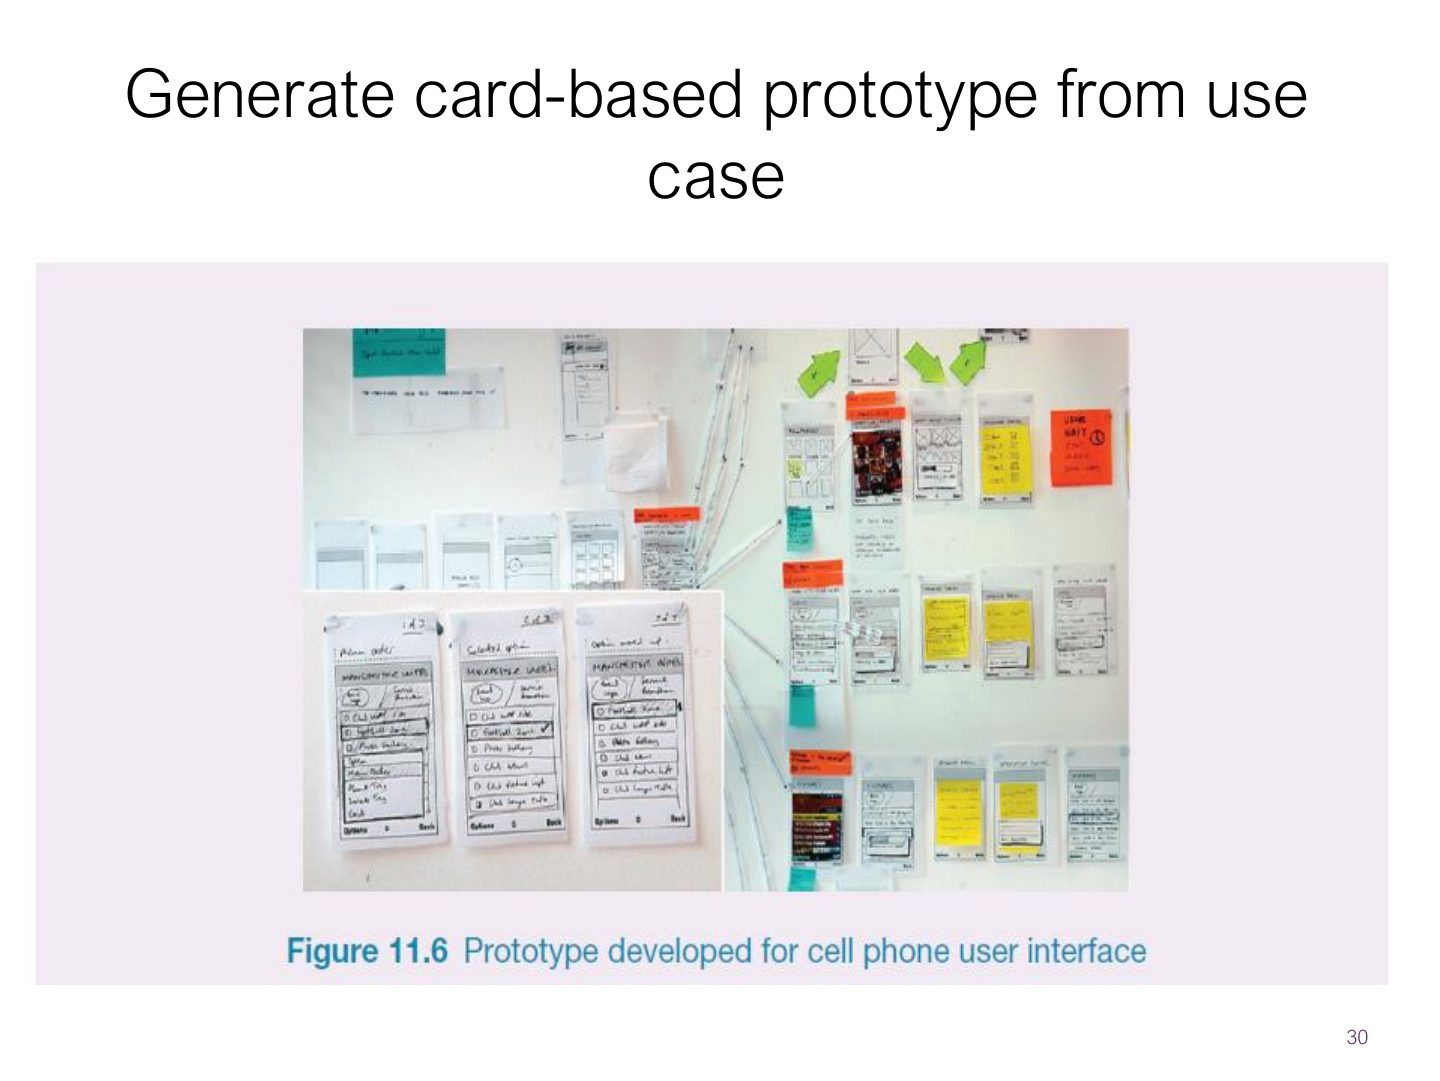
- 30 Generate card-based prototype from use case
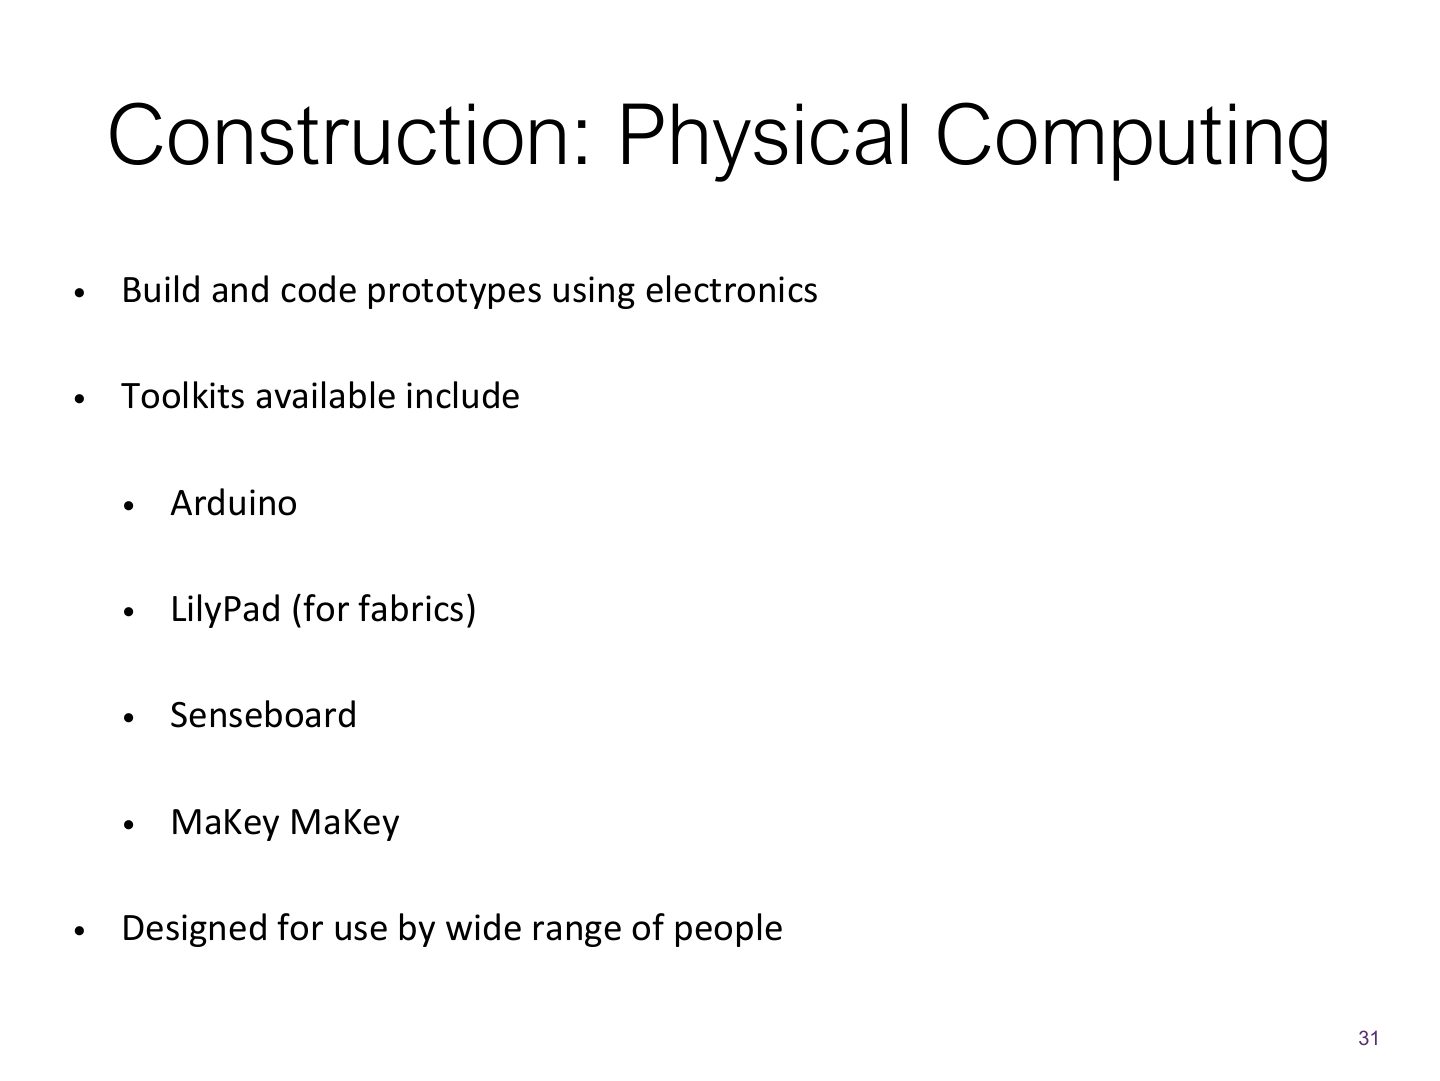
- 31 Construction: Physical Computing
- 32 Physical computing kits
- 33 Physical computing kits
- 34 Physical computing kits
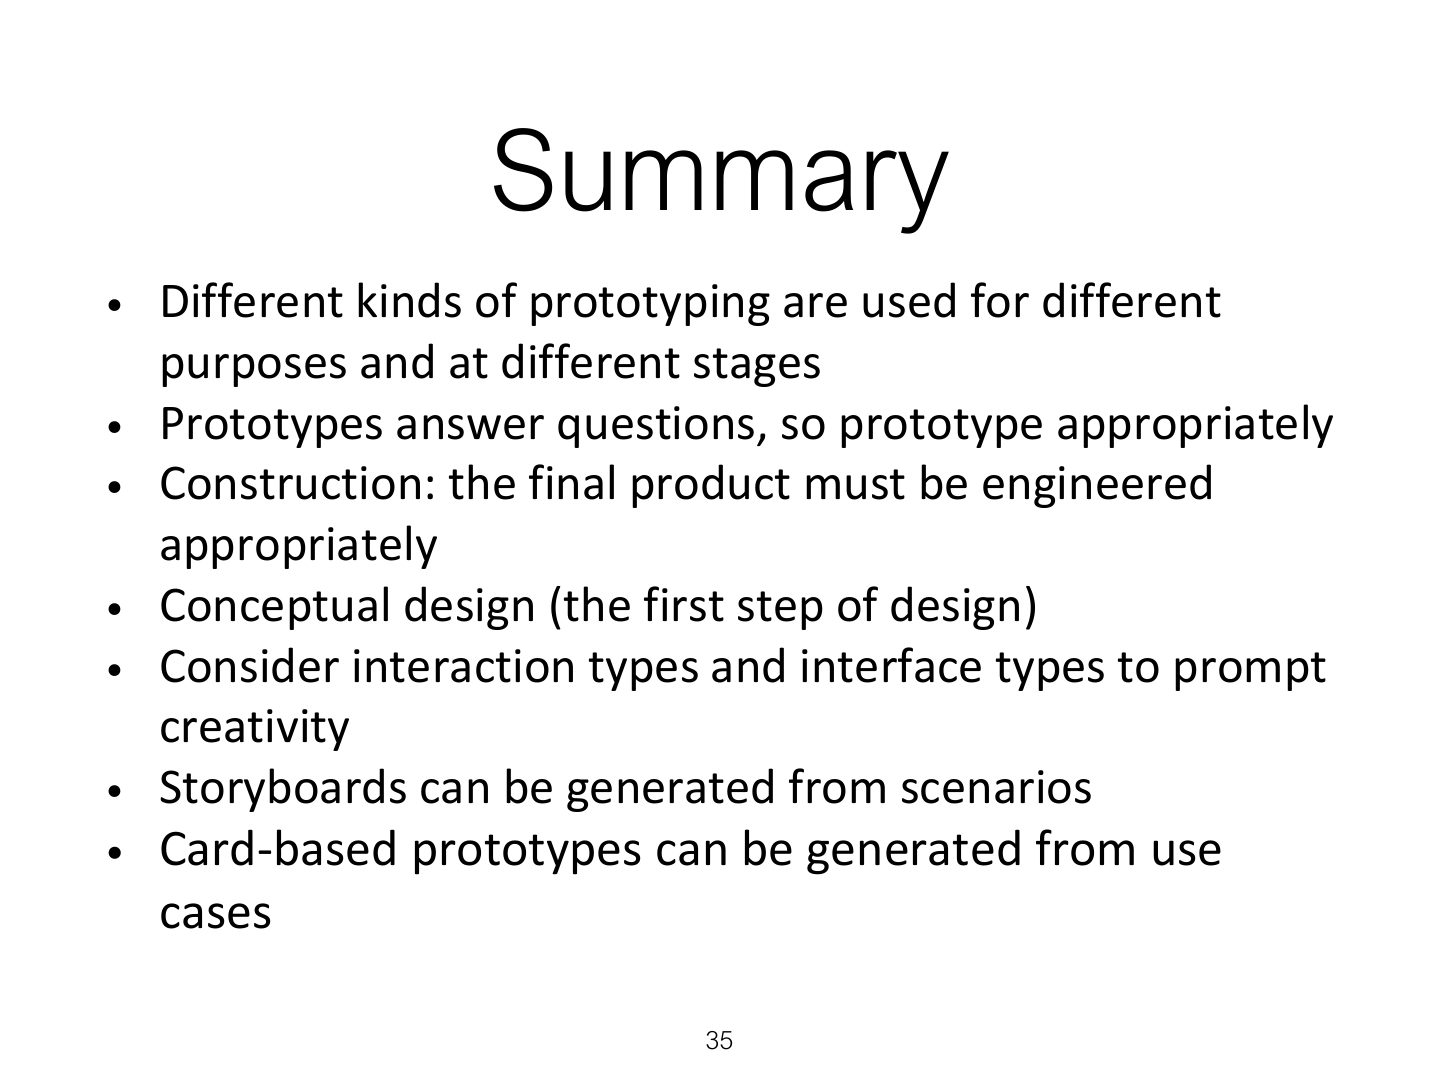
- 35 Summary
Slide 1
Overview
Learning Outcomes
1. Prototyping & Construction
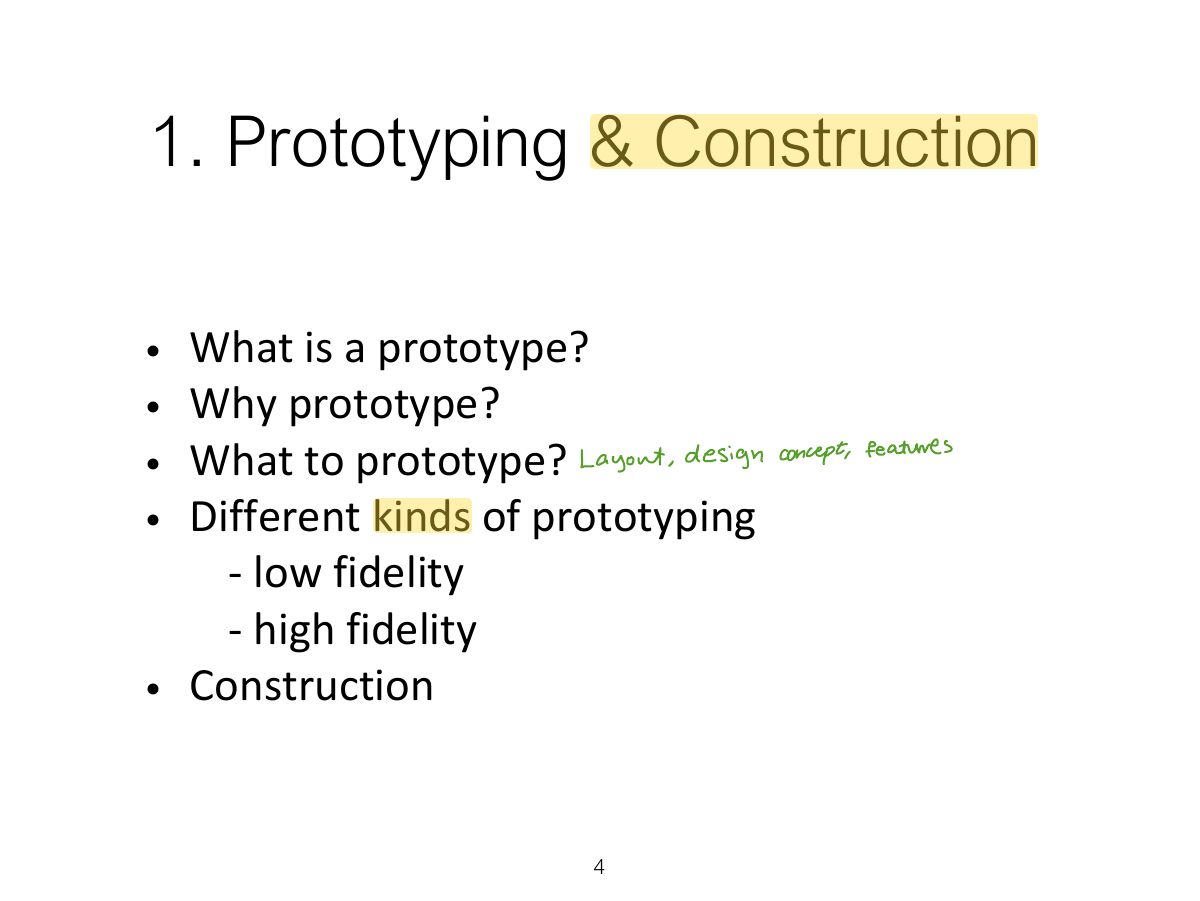
1.1 What is Prototype?
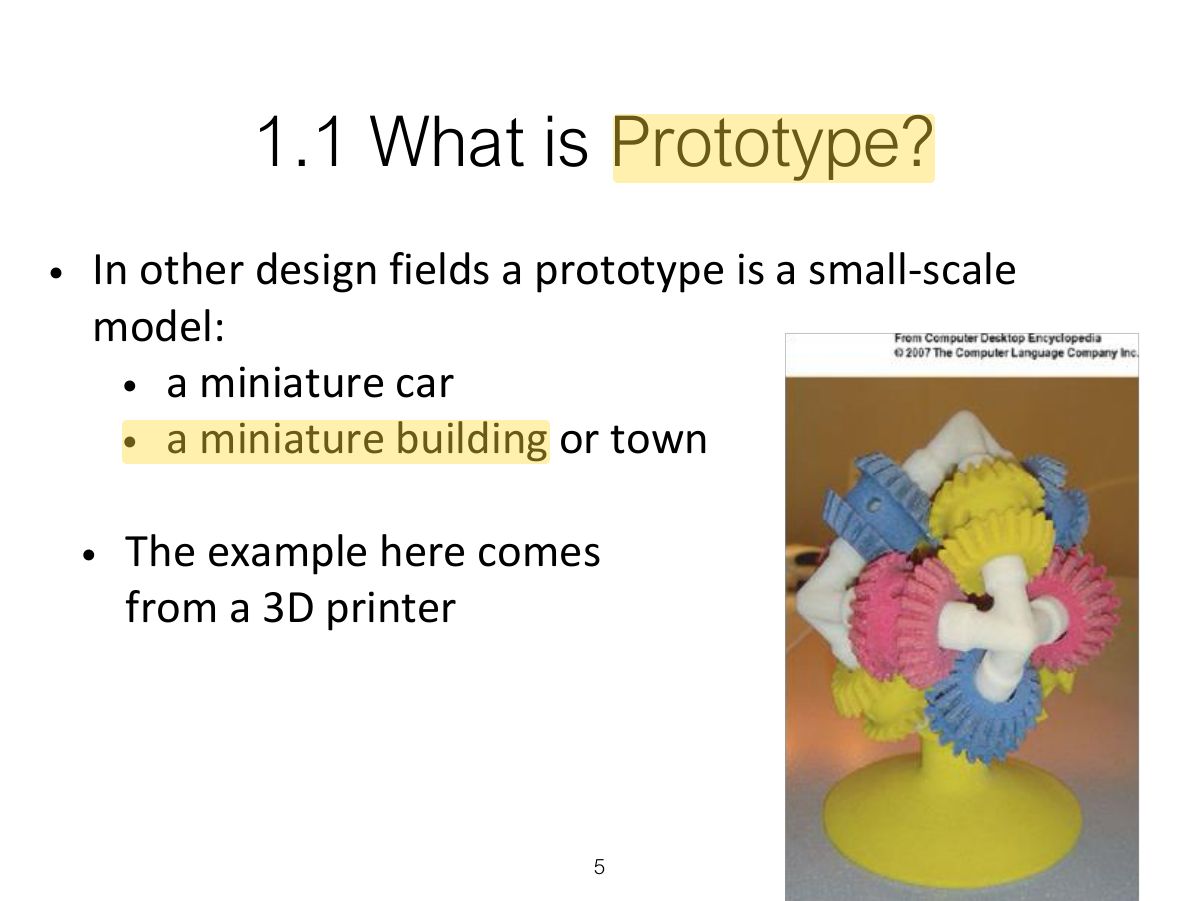
Notes
Prototype: a manifestation of a design that lets stakeholders interact with it and explore its suitability.
Slide 6
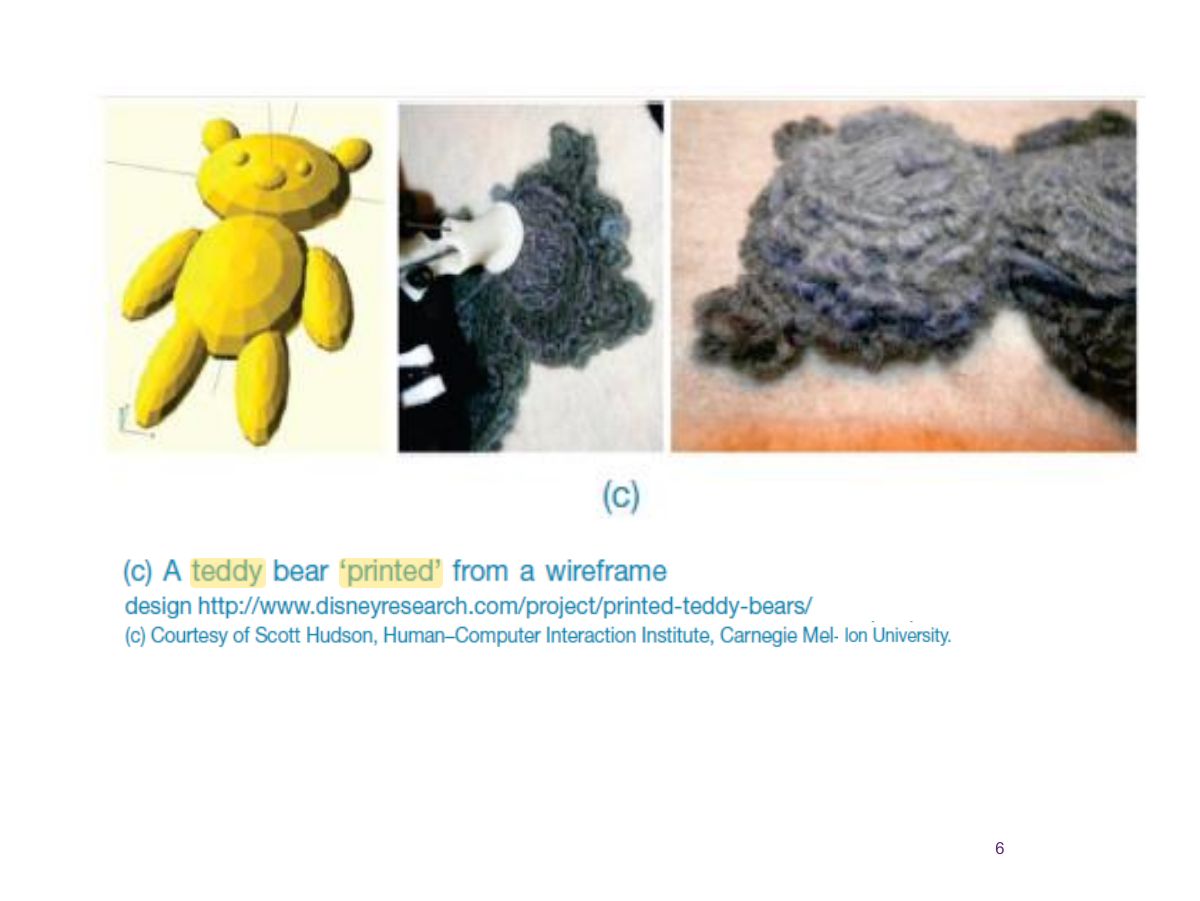
1.1 What is Prototype? (cont)
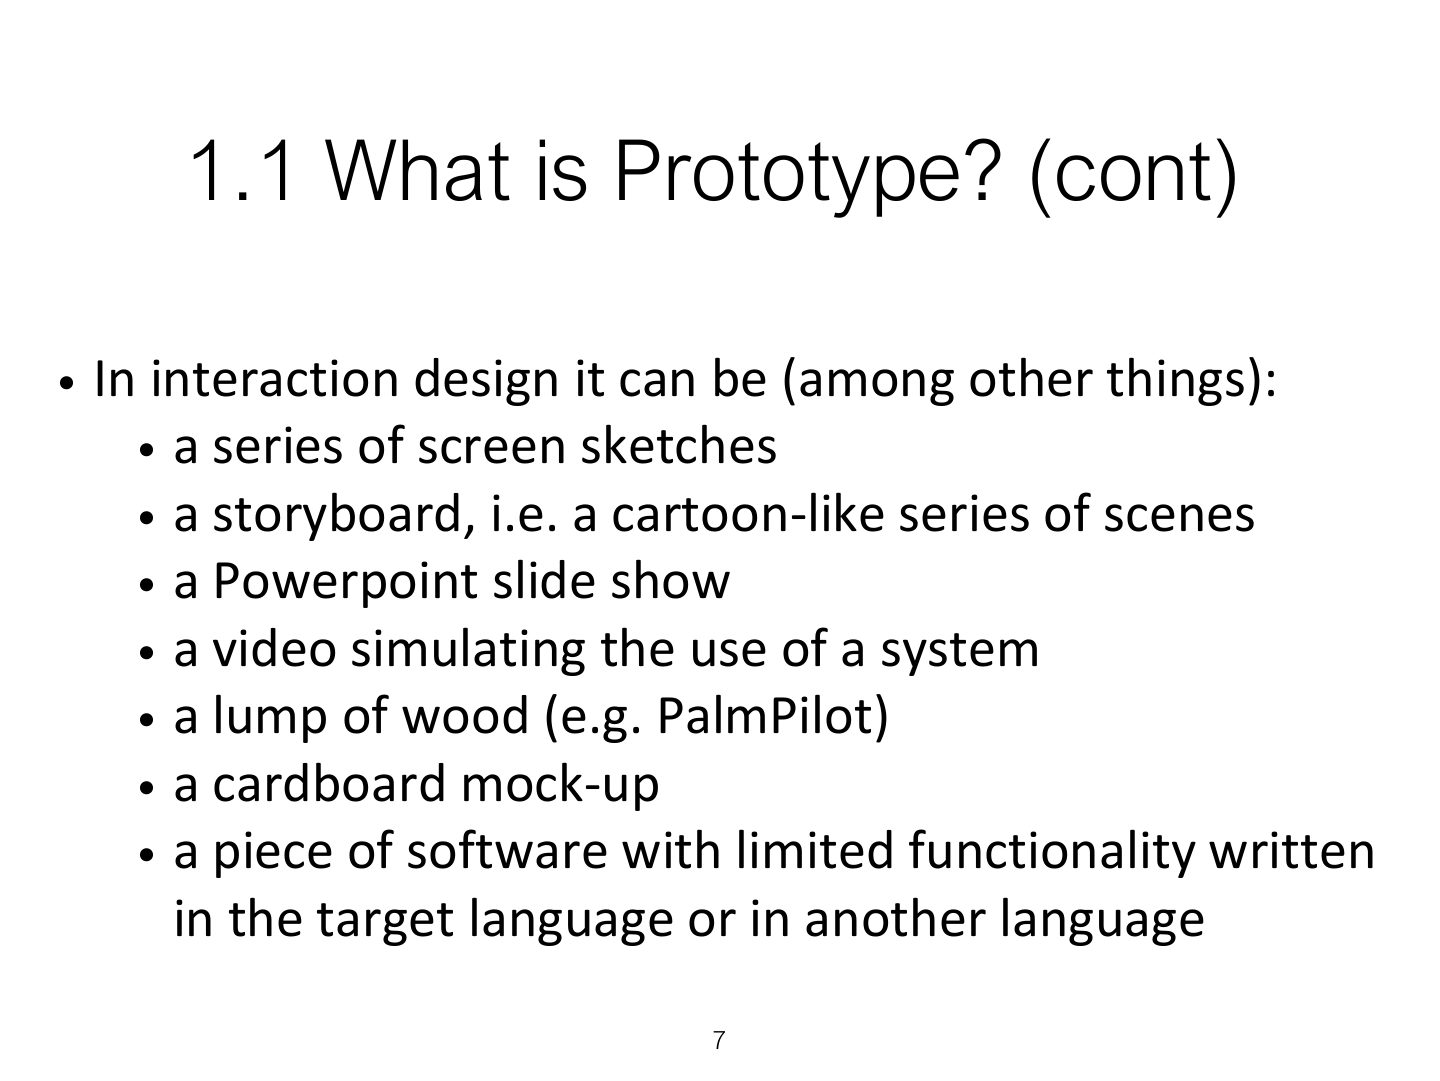
1.2 Why Prototype?
Notes
Why prototype: evaluation and feedback, communicate ideas, test technical feasibility, clarify requirements, choose between alternatives.
Filtering dimensions of prototyping
Manifestation dimensions of prototyping
1.3 What to Prototype?
1.4 Low-fidelity Prototype?
Notes
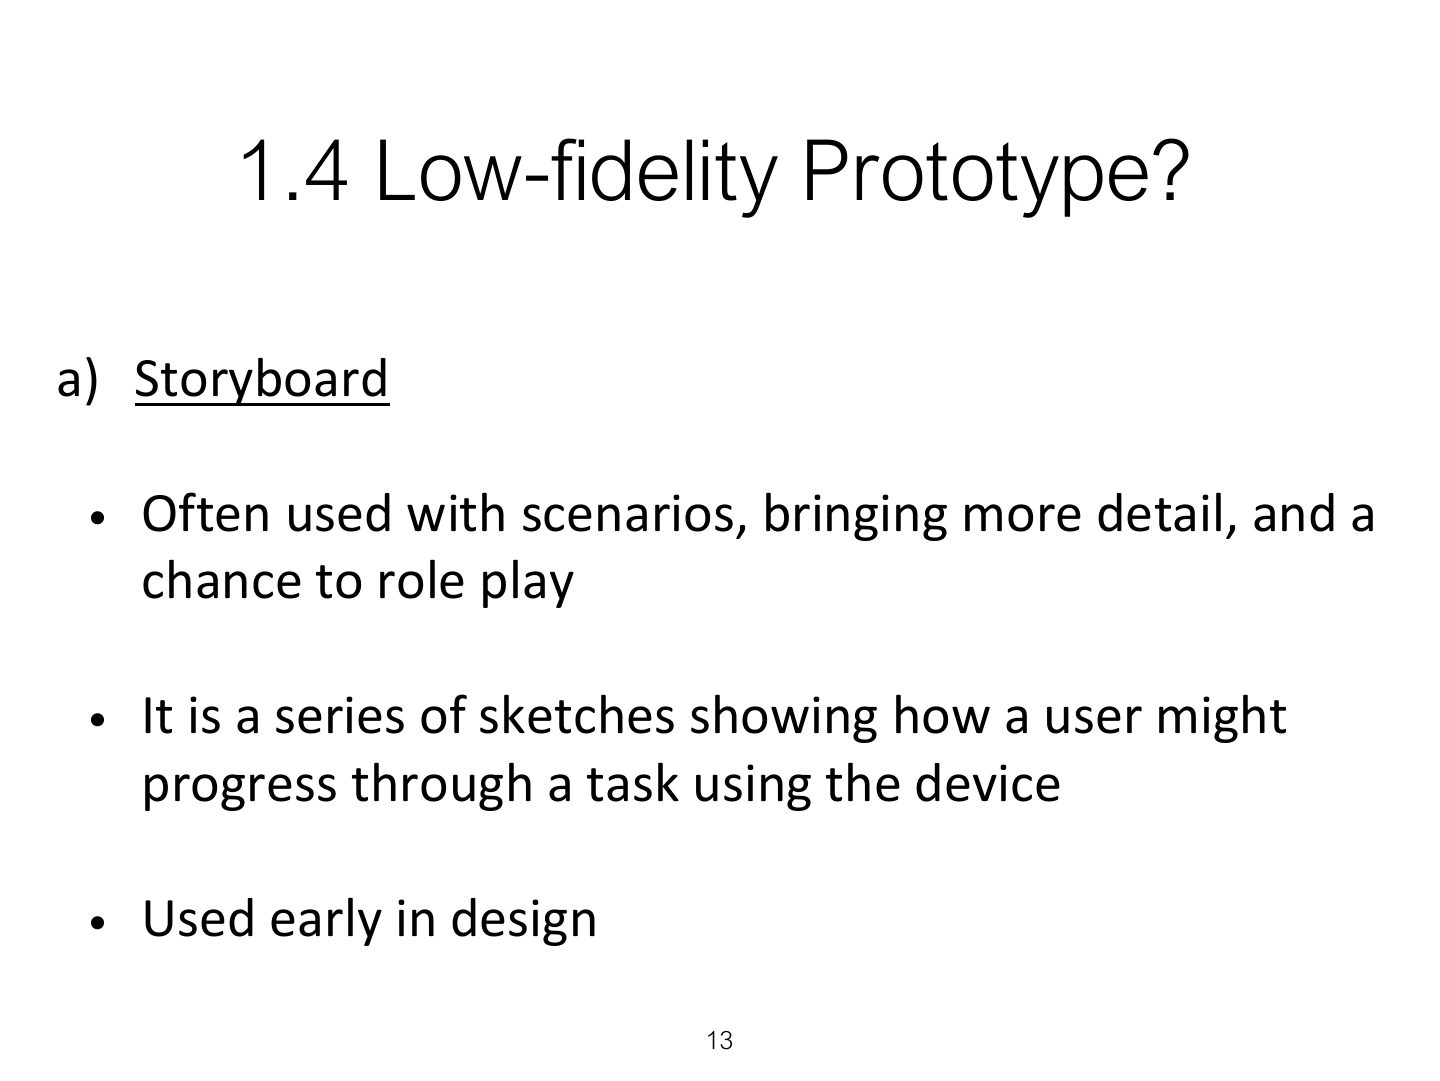
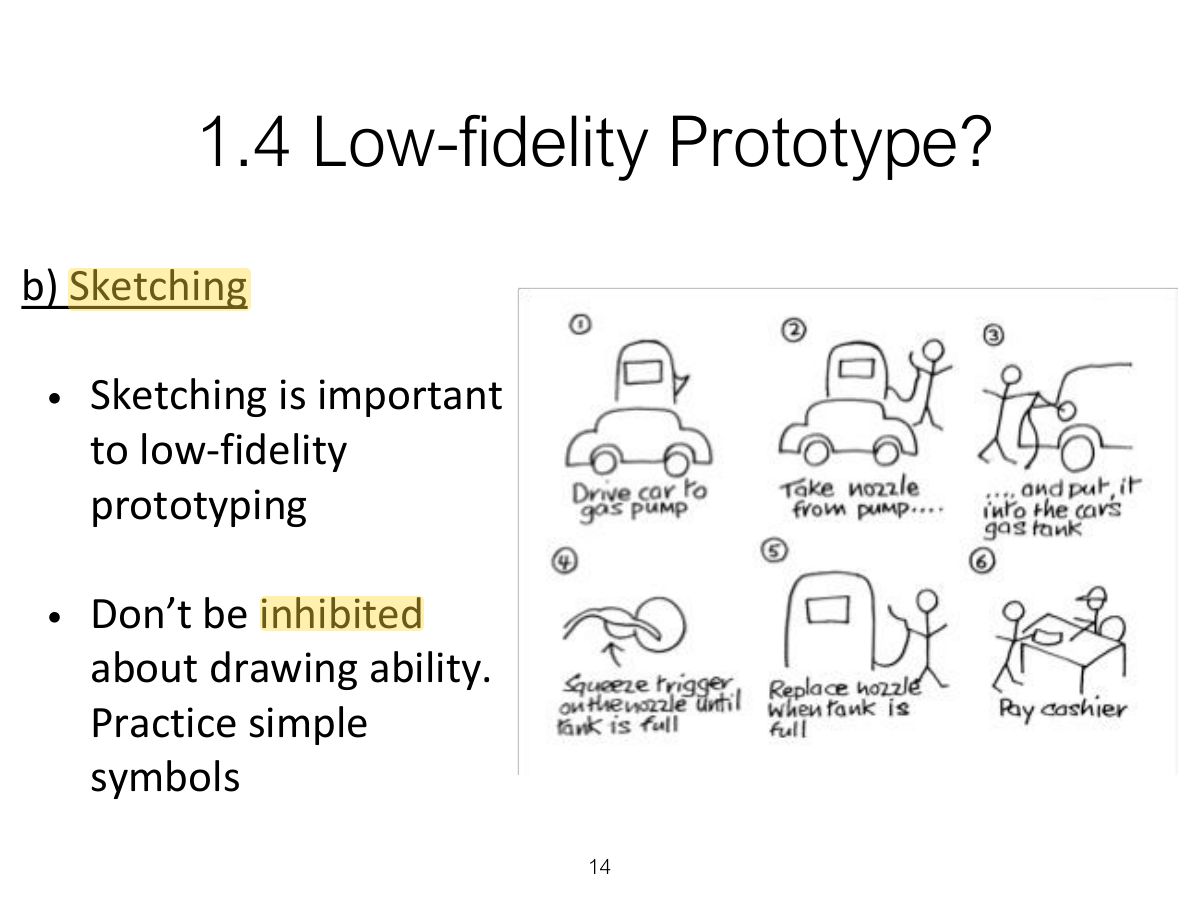
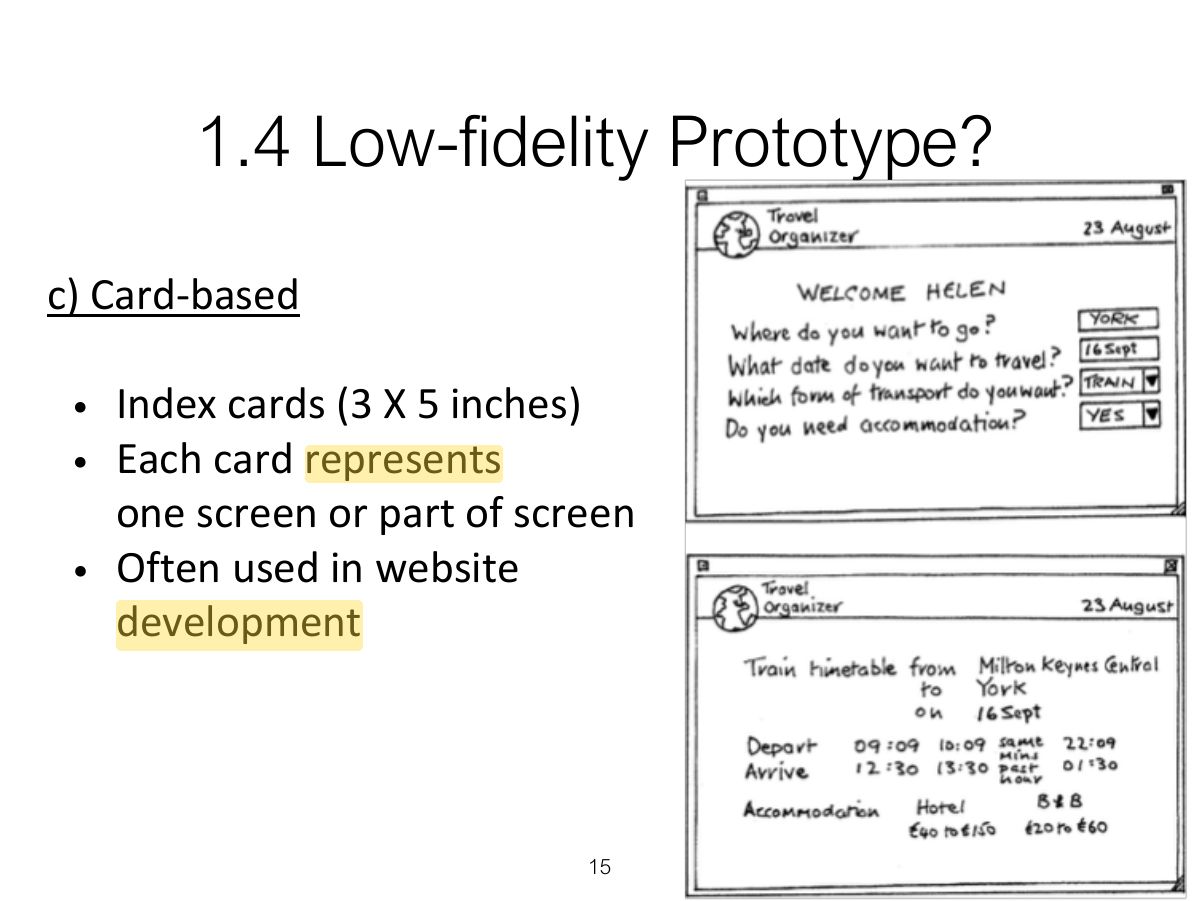
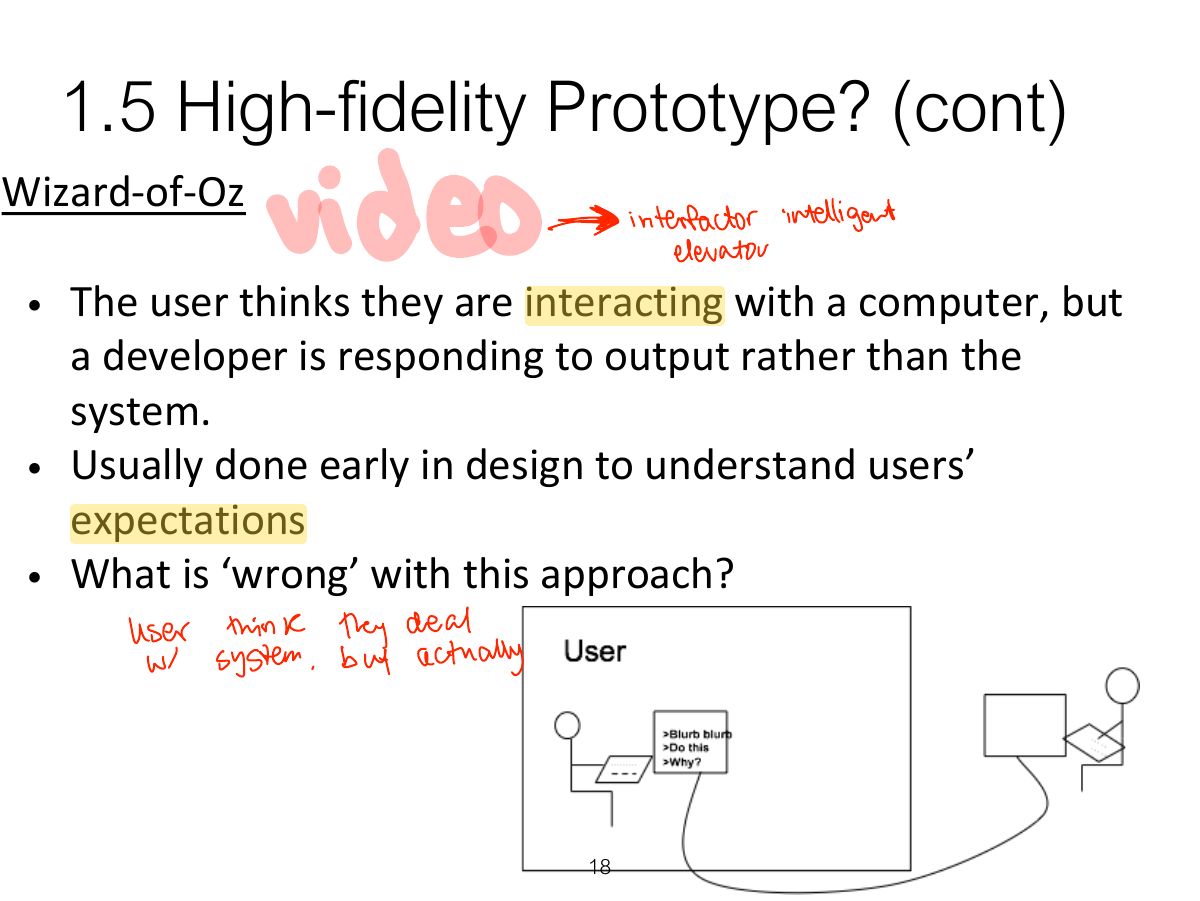
Low fidelity: paper, sketches, storyboards, cards, Wizard of Oz. Quick, cheap, easy to change; good early.
Exam angle
1.4 Low-fidelity Prototype?
1.4 Low-fidelity Prototype?
1.4 Low-fidelity Prototype?
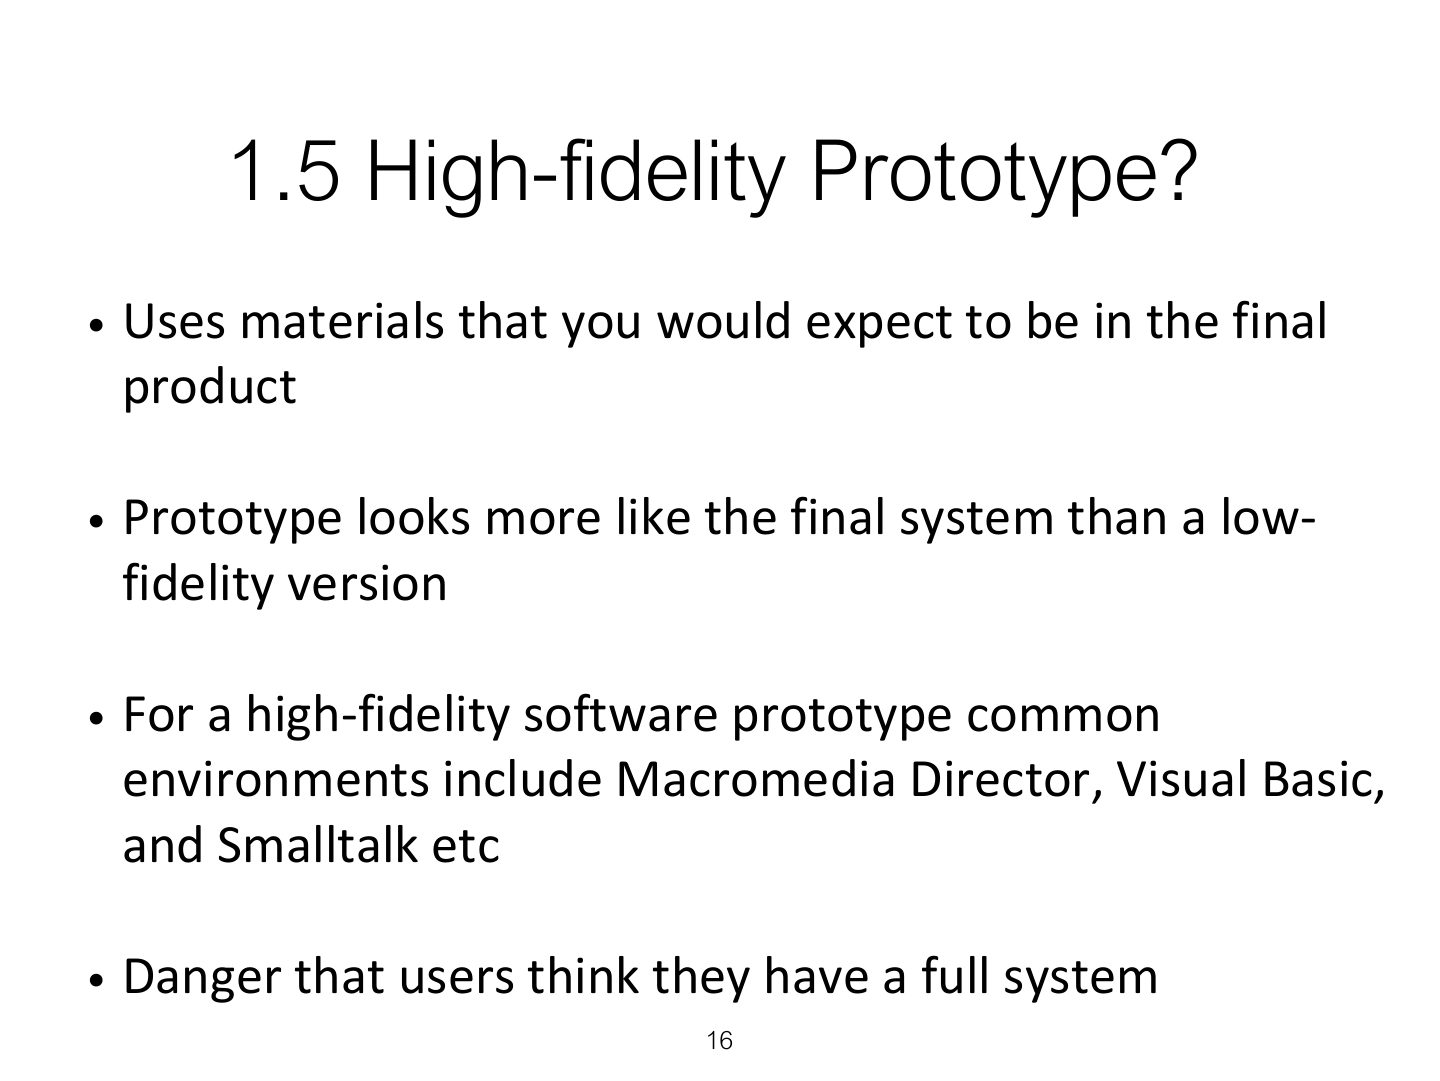
1.5 High-fidelity Prototype?
Notes
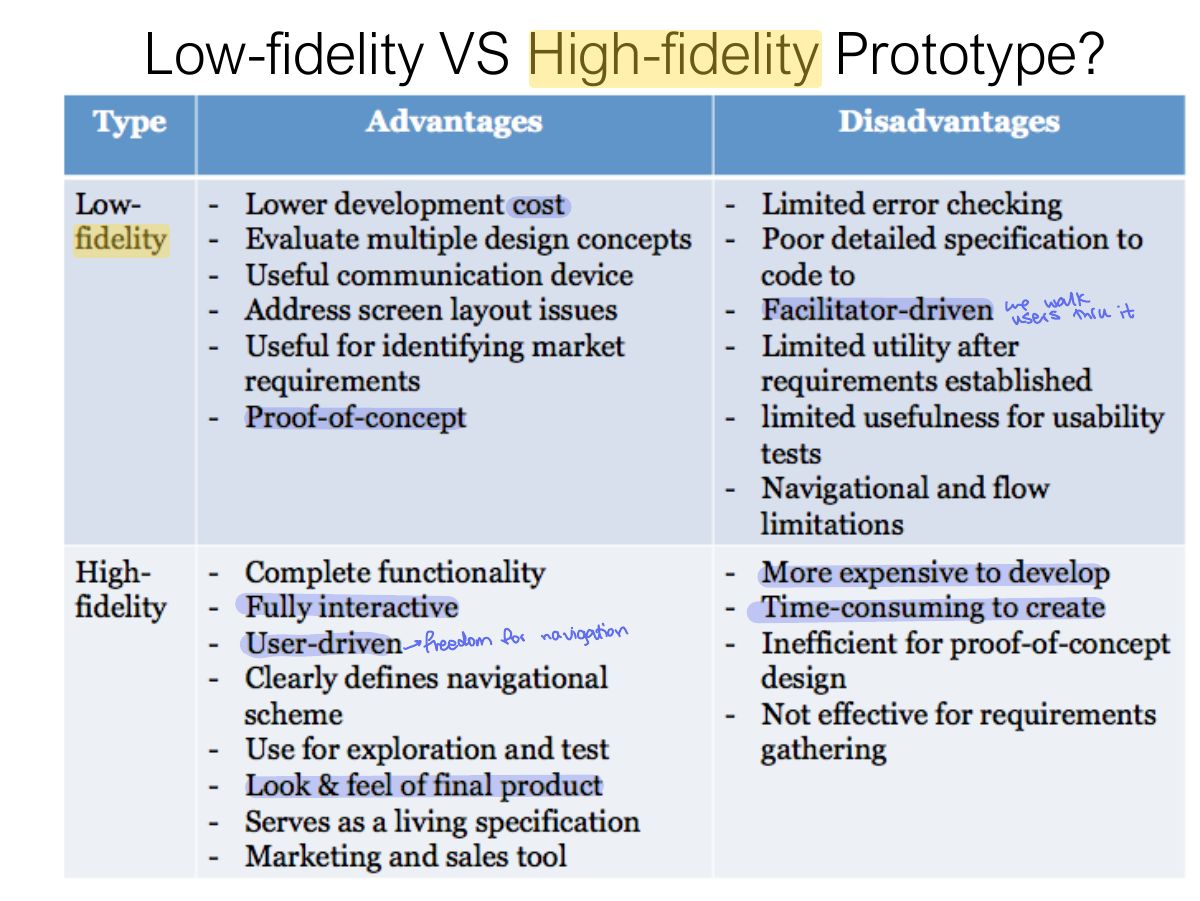
High fidelity: looks and works like the final product (built with tools such as Figma or code). More expensive; users may focus on details; developers may resist throwing it away.
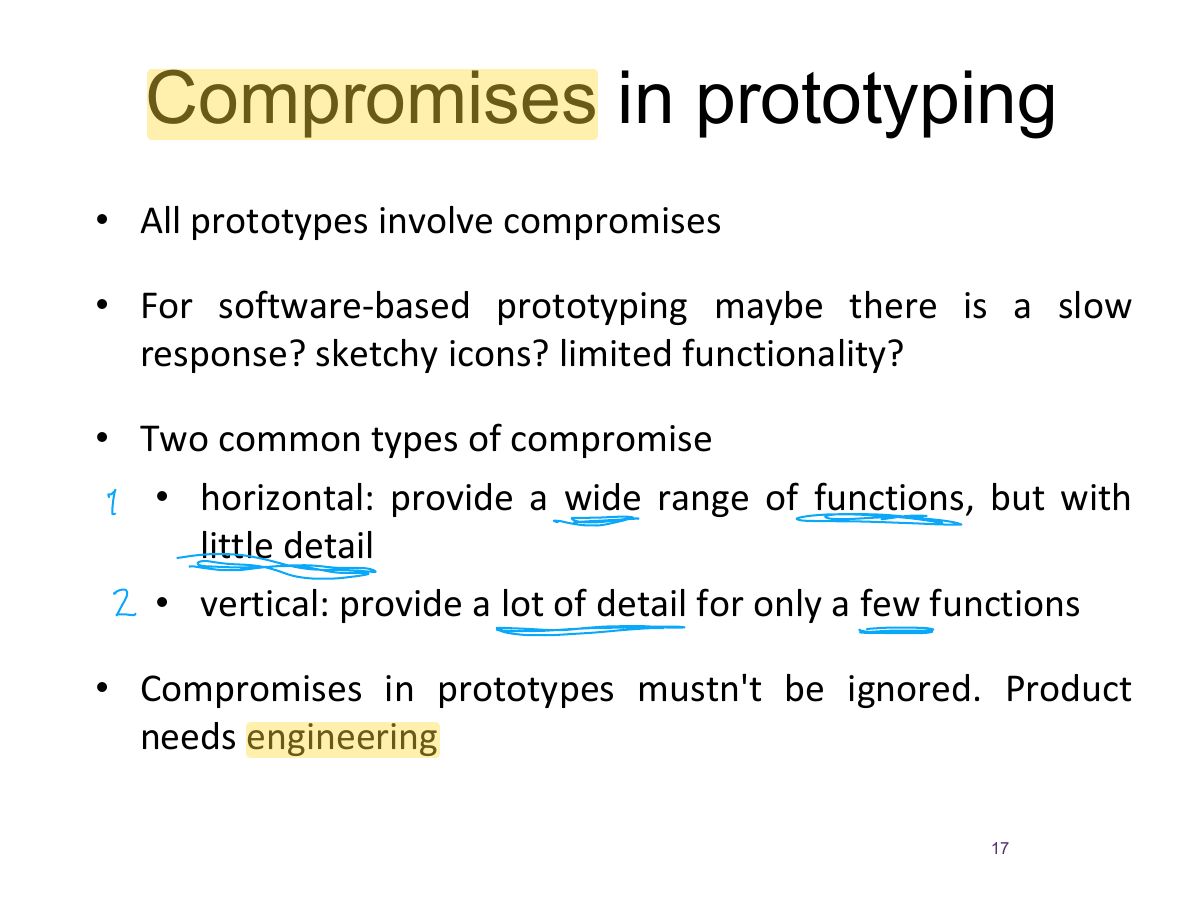
Compromises in prototyping
Notes
Compromises: horizontal (wide range of functions, little detail) vs. vertical (few functions in depth). Throwaway vs. evolutionary prototyping.
Exam angle
A prototype with many features but little detail in each is:
1.5 High-fidelity Prototype? (cont)
Low-fidelity VS High-fidelity Prototype?
1.6 Construction
2. Conceptual design: from requirements to design
Notes
Conceptual design: what the product will do and how it behaves (concepts, metaphors, interaction types). Concrete design: colours, layout, icons, details.
Trap Conceptual design = WHAT and how it behaves; concrete design = how it LOOKS.
2. Conceptual design: from requirements to design (cont)
2.1 Is there a suitable metaphor?
2.2 Considering interaction and
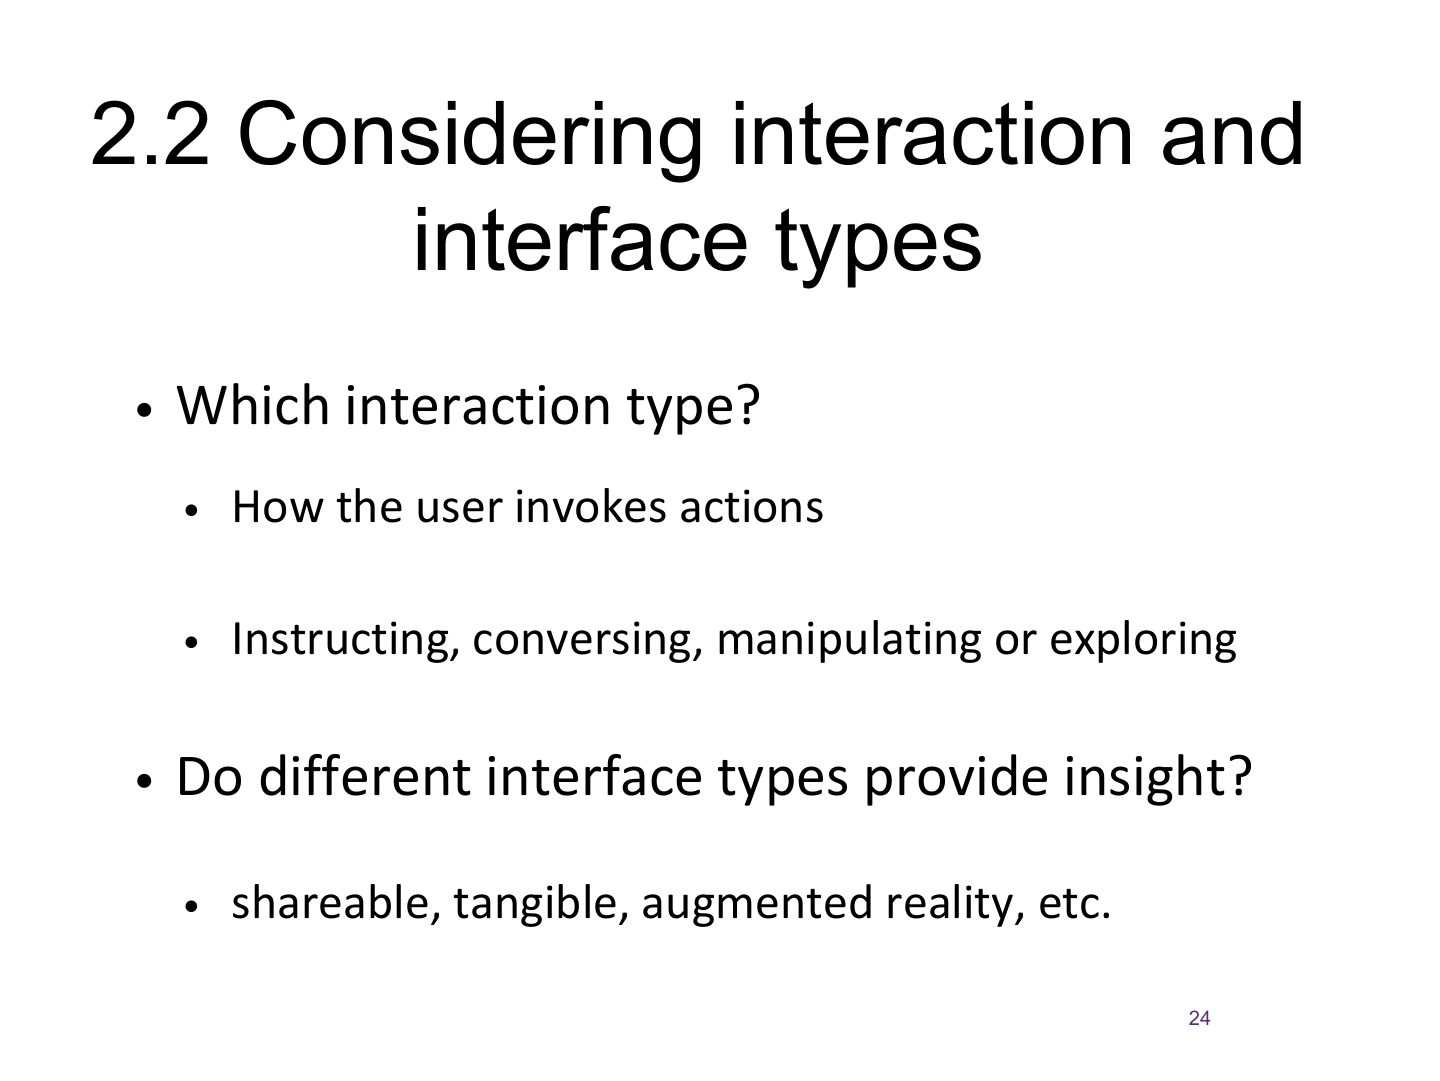
2.3 Expanding the initial conceptual model
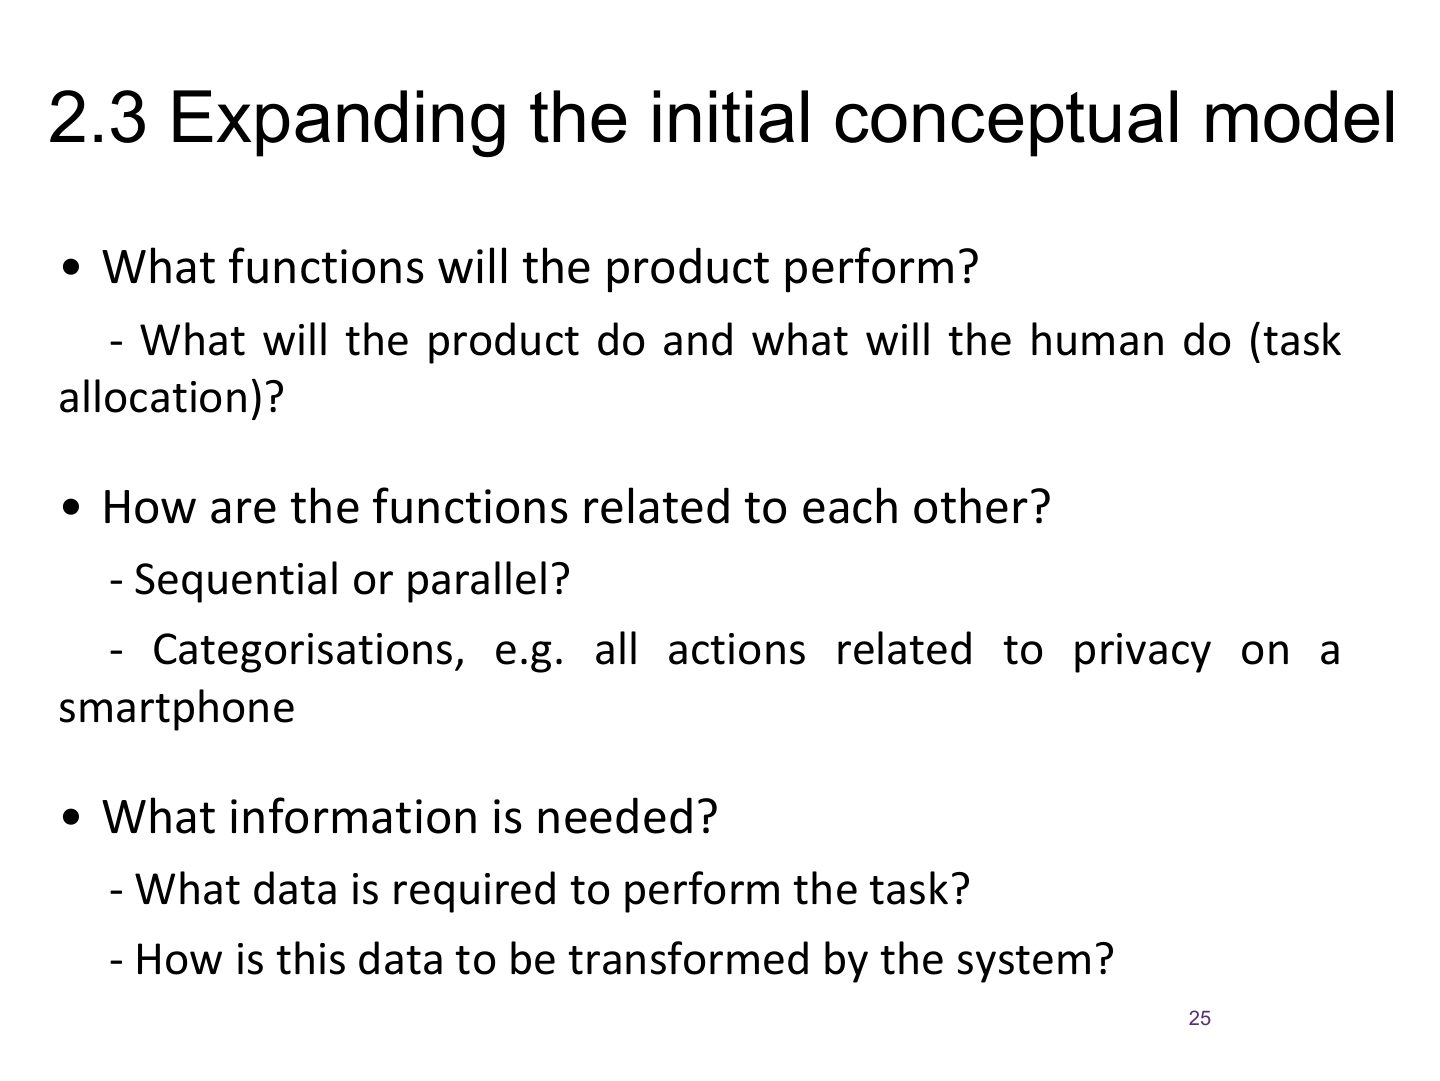
2.4 Concrete design
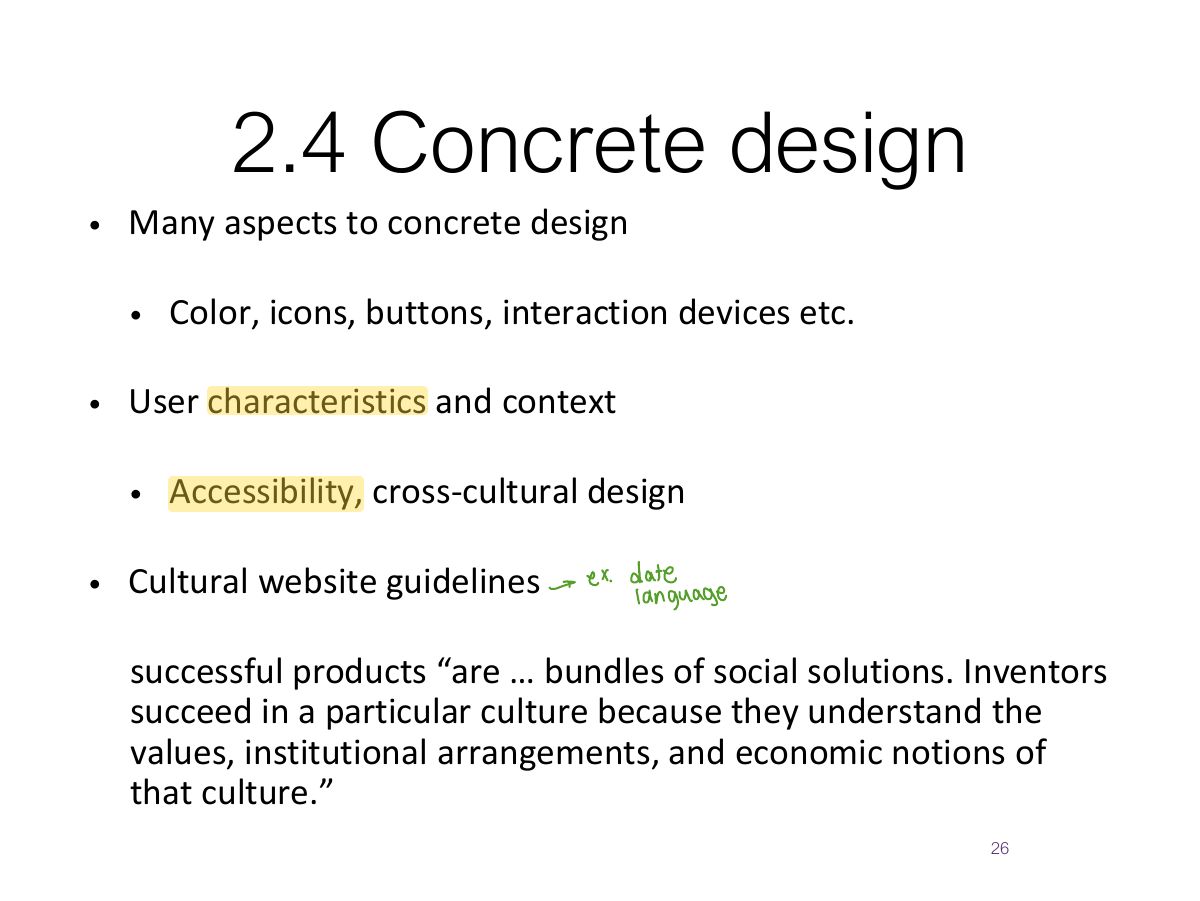
3. Using scenarios in conceptual design
Notes
Scenarios → storyboards → card-based prototypes.
3.1 Using prototype in design
Generate storyboard from scenario
Generate card-based prototype from use case
Construction: Physical Computing
Notes
Physical computing: Arduino, MaKey MaKey, micro:bit for prototyping physical interaction.
Physical computing kits
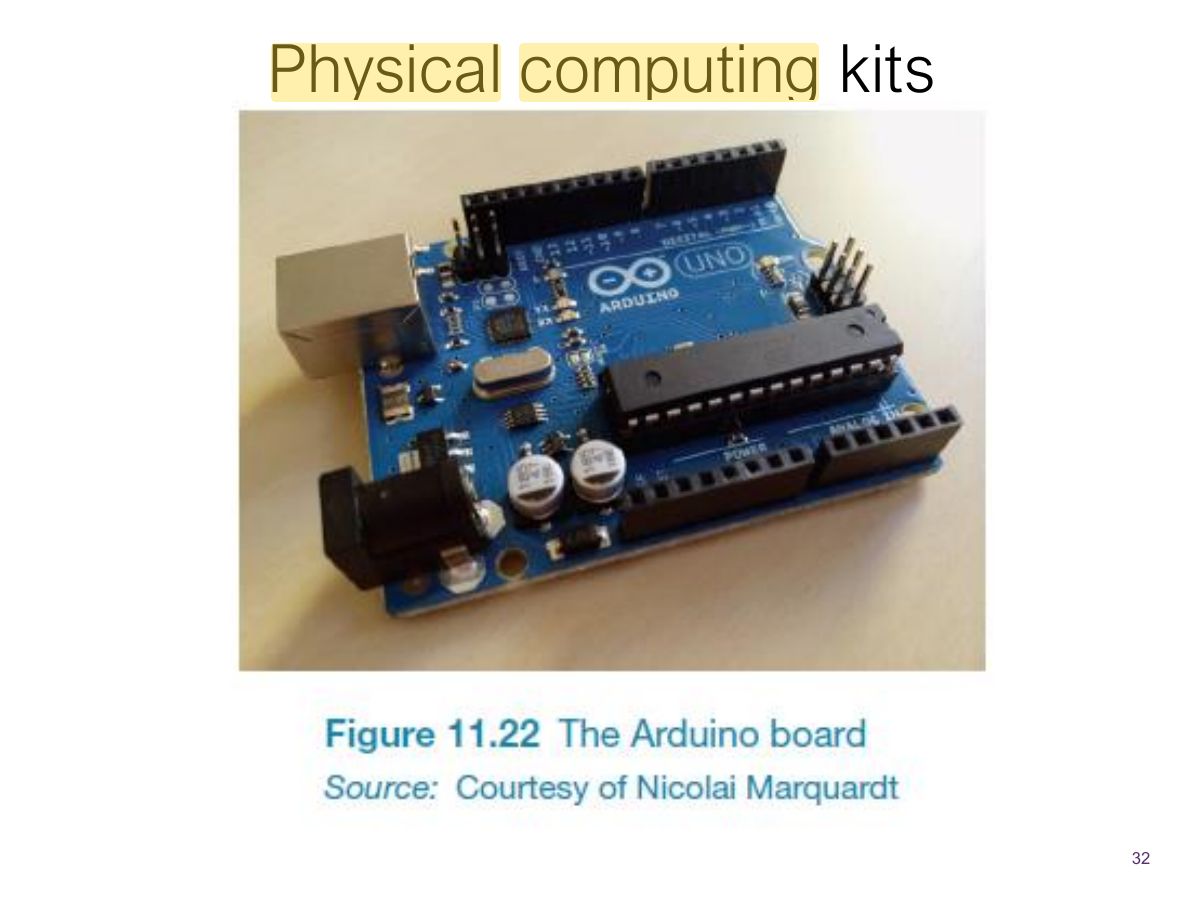
Physical computing kits
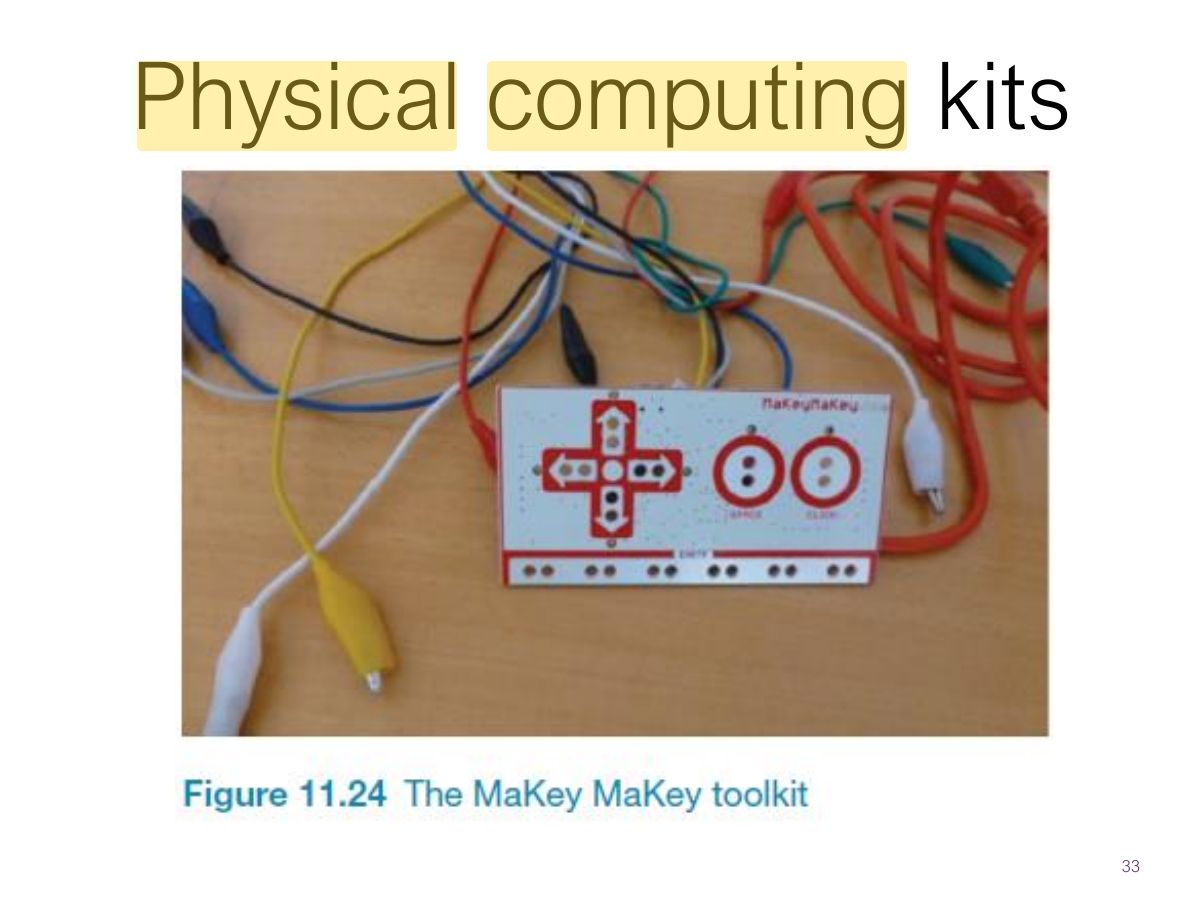
Physical computing kits
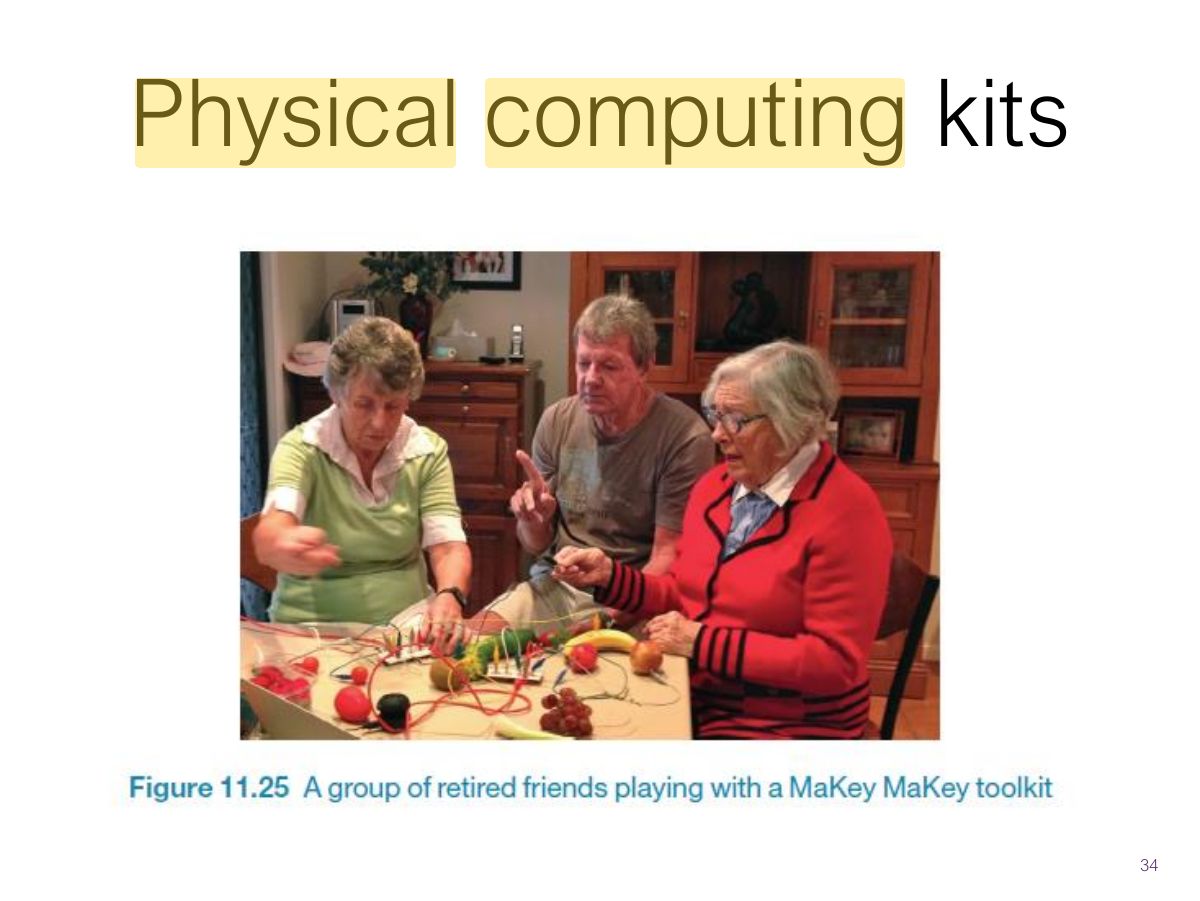
Summary